
Our basement playroom has two little square spaces that seemed to always collect junk. I tried to make one area a dramatic play center, but it took too much work to change it as much as I would have liked. The other space, now the art center, was an unfinished dancing stage. At one point Ladybug asked or a dancing stage and as soon as we finished making the stage she lost interest. It sat untouched for over a year until Ladybug asked for an art studio.
Supplies
- 1x2 pine boards
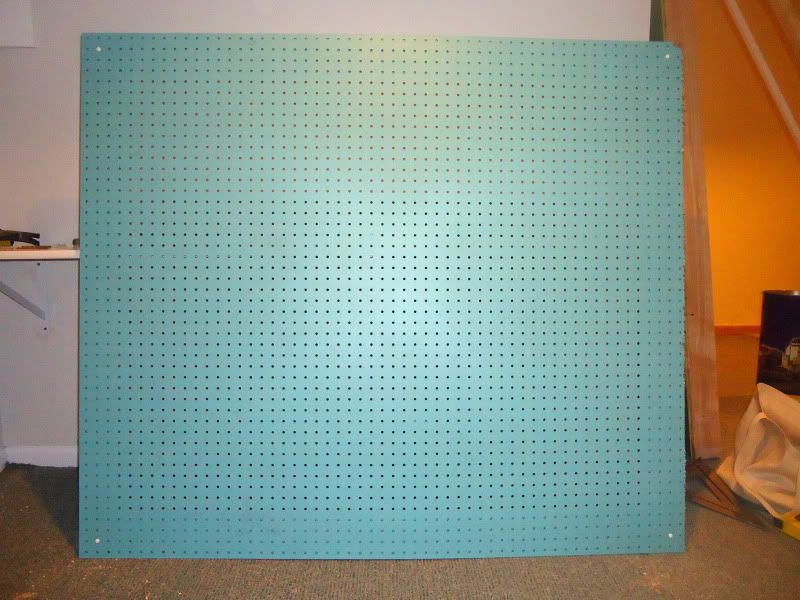
- Pegboard
- Laminate shelving
- Brackets
- Screws
- Power Tools
- Paint
I started of by painting the entire space Benjamin Moore White Wisp and the trim Benjamin Moore Super White. I wanted the art work to be the focus and the walls a backdrop and I am having a love affair with gray.
The wall where we wanted the pegboard was measured and cut at the store. I painted it Benjamin Moore Bahaman Sea Blue. The color was chosen by Ladybug off the fabric from the art signs.
Next we decided on a height for the laminent shelving table and installed the brackets adding 4" for the stage height. The brackets were held in place by toggle bolts. You can read about which kind is right for your project at This Old House. The laminent shelf was installed on top of the brackets by screwing screws on the underside of the brackets.
 |
| The brackets are 12" so if they decide to stand on them (I woudn't put it past Mister) the table won't fall. |
After the shelf was in place we decided how big of space there should be between the shelf and the pegboard. One of the biggest challenges was making sure the table space wasn't covered by peg board and making sure the kiddos could read the pegboard. This space was created for preschoolers, so everything has to be low.
A frame was made for the pegboard, so the pegboard could be removed, there wouldn't be a lot of holes in the wall from the permanate fixtures, and hooks could be rearranged and heightened as they grow.
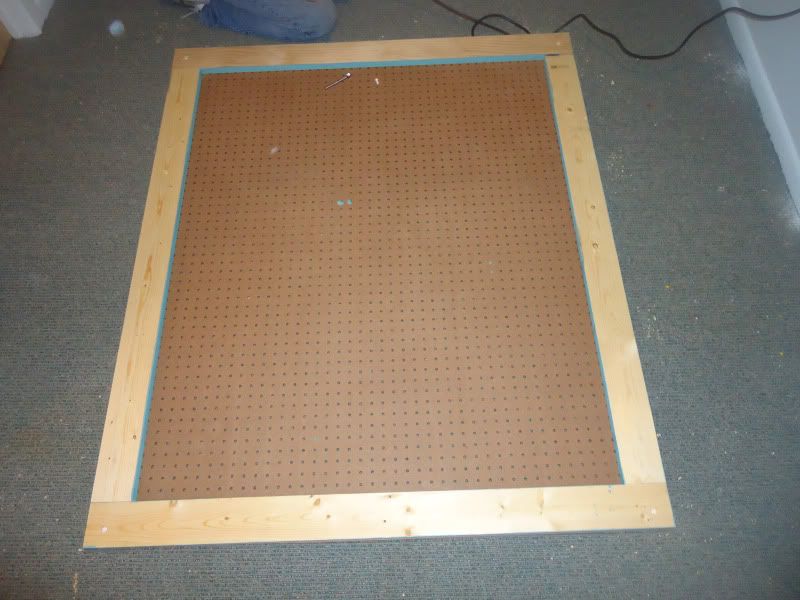 |
| We checked to make sure the boards would make a nice frame for the pegboard |
 |
| The frame was created using a Kreg Jig. |
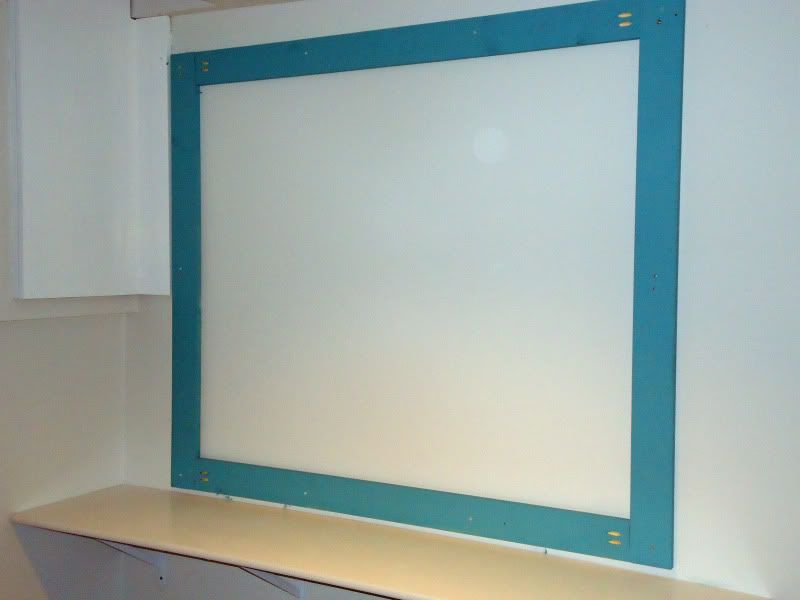
To hold the pegboard in place white plastic screw buttons.
 |
| My dad testing the screw buttons to make sure they were in the correct place. We used 12 of these screws. |
The pegboard is now ready to be mounted on the wall. For decorative framed look we added a pine corner guard molding painted in Super White. The frame was only added attached to the peg board so we could remove the pegboard as needed.
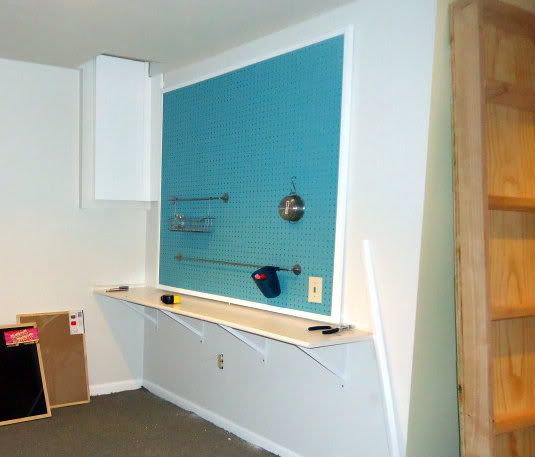 |
| The bars and baskets are from Ikea. |
Now, you have the start to an awesome art studio! Check back for the rest of the tutorial.


No comments:
Post a Comment