Thursday, January 10, 2013

Built-In Art Studio - Part 2

In my last post about the art studio it was all about heavier lifting and now it's time to put it all together or the fun part.

This space isn't particularly girly and if Ladybug would have been the team leader she would have picked lavender, pink, dark purple, and glitter.  I chose to use a few pieces we already owned, purchased from Spell It With Style, to help design the space.
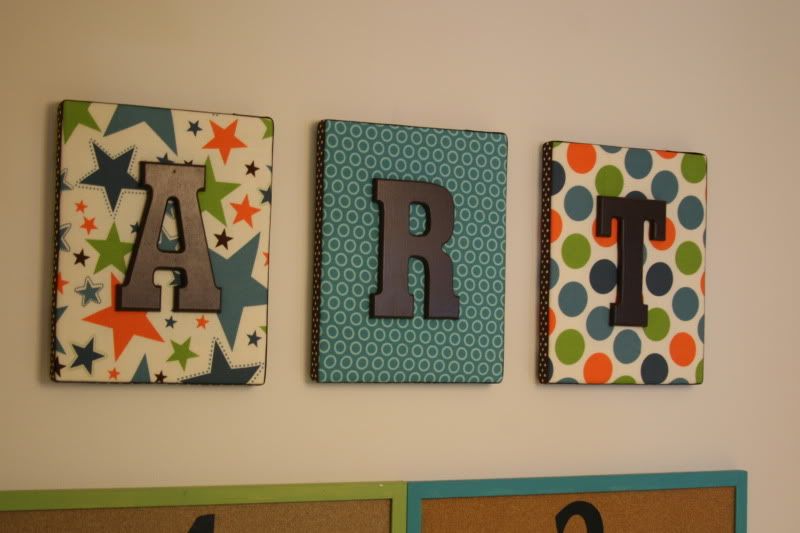

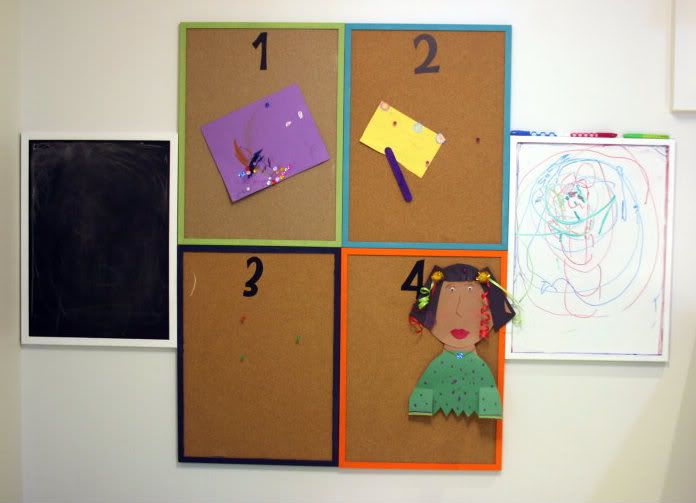
I picked up 4 inexpensive framed cork boards, 1 white board, and 1 chalk board for art display and extra workspace.  On each cork board I did a light sand and painted one of the four colors from the ART.  Using my Cricut machine a number was added to the top to give it a little something extra.  My husband and I played around with multiple figuration, so could reach the cork boards and the extra drawing spaces.  It was a challenge because they aren't very tall.  When we found the only thing that worked they were nail gunned to the wall.  Those aren't going anywhere.

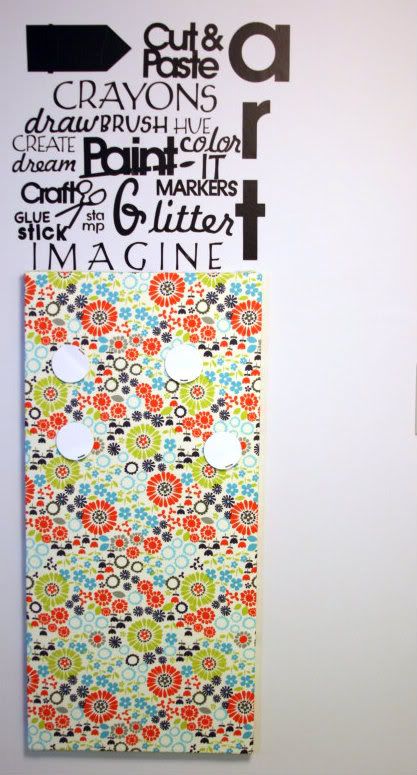
On the opposite wall from the work space I covered an IKEA Spontan board with fabric using industrial hot glue.  Above the magnetic board I put my spin and first attempt at Subway art.  This project took longer than  any other thing in the entire kid's art studio.
Usually, I dislike and have a hard time with mismatched patterns, but my mom convinced me the space needed some whimsy.

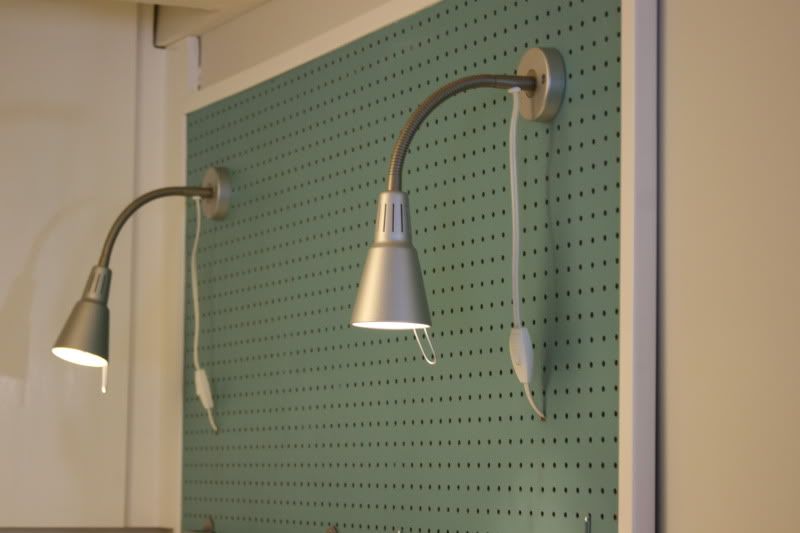
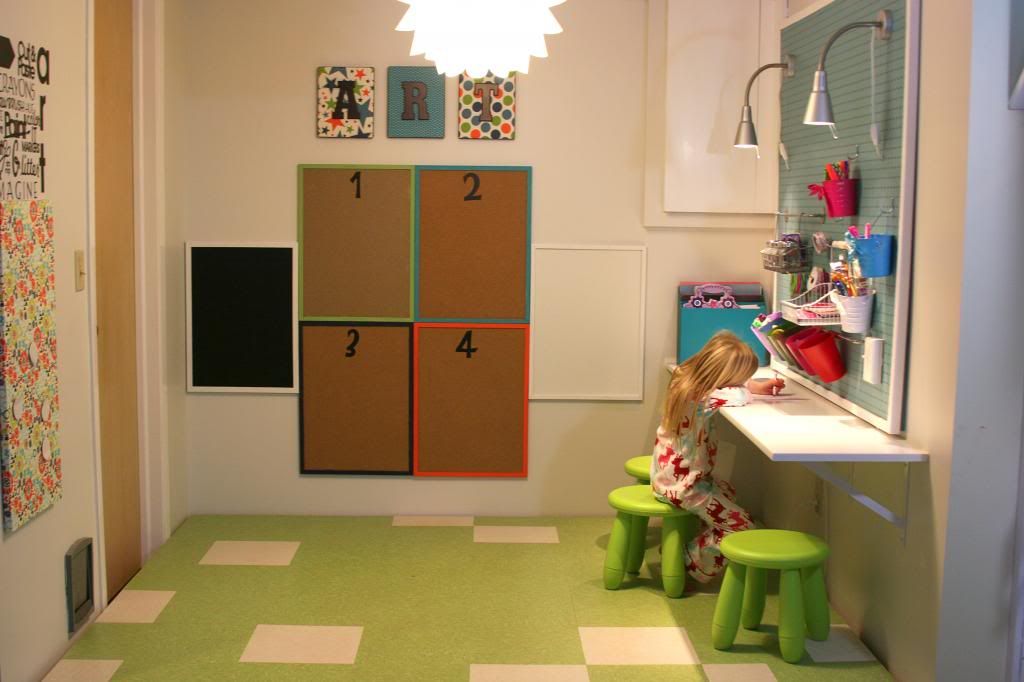
On the pegboard IKEA baskets, buckets, and lights were affixed to the board along with movable hooks.  The lights are wired together and a switch is used to turn both on.  I am not going to try to explain the wiring because, well, I didn't do any of it.


Finally, my husband installed an IKEA Knappa light that ladybug chose, but had no idea why she was picking it out, in the old can light.  You can see a hole around the light because we have the only model of can light that was not on the can light adaptor list.  Not only was the light a pain to put up, but IKEA directions have to be the worst directions of all time.


There you have the completed kids art studio!  The whole project took a little over two weeks working 2-3 days a week for a few hours a day plus some evenings.

If you have a kid's art space I would love to see it since I am always looking for new ideas!  Feel free to leave a comment and a link to your space.

Monday, January 7, 2013

January Sensory Bin - It's All About Money

In our house we don't call coins money, but "lucky day(s)" and it makes me smile every time.  Mister and Ladybug are interested in "lucky days" and how we are able to buy things.  I am sure it stems from me asking them if they remembered to bring their money when they want to buy a new toy or candy.  This month we are going to revisit money.

What's Inside
  • Coins (real and pretend)
  • Piggy bank
  • Items to buy with price tags attached
  • "Credit cards"
  • Zipper coin purse
  • Paper money

Ladybug took the sensory bin and created a store on the table for our shopping pleasure.

Thursday, January 3, 2013

Built-In Art Studio - Part 1

The Space

Our basement playroom has two little square spaces that seemed to always collect junk.  I tried to make one area a dramatic play center, but it took too much work to change it as much as I would have liked.  The other space, now the art center, was an unfinished dancing stage.  At one point Ladybug asked or a dancing stage and as soon as we finished making the stage she lost interest.  It sat untouched for over a year until Ladybug asked for an art studio.

Supplies
  • 1x2 pine boards
  • Pegboard
  • Laminate shelving
  • Brackets
  • Screws 
  • Power Tools 
  • Paint
The How-To

I started of by painting the entire space Benjamin Moore White Wisp and the trim Benjamin Moore Super White.  I wanted the art work to be the focus and the walls a backdrop and I am having a love affair with gray.

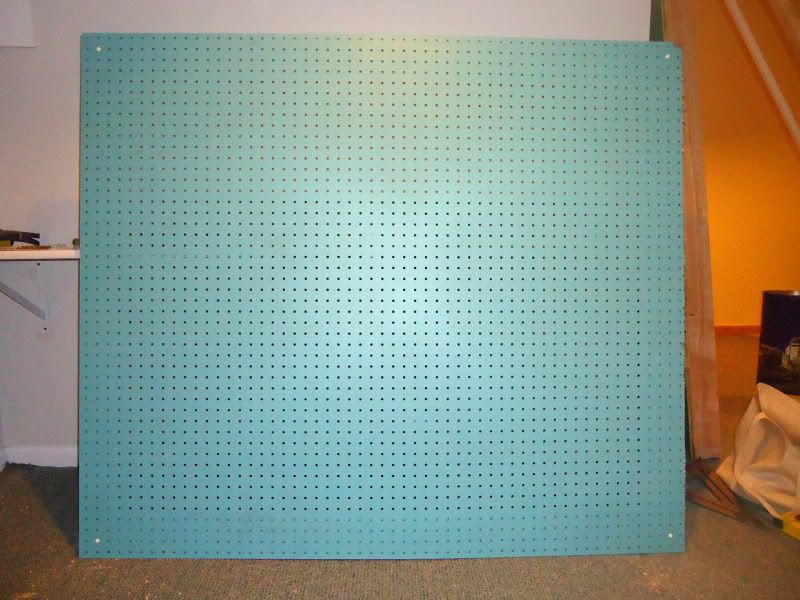
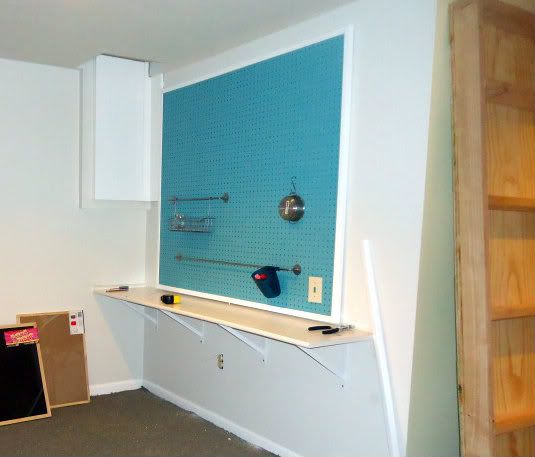
The wall where we wanted the pegboard was measured and cut at the store.  I painted it Benjamin Moore Bahaman Sea Blue.  The color was chosen by Ladybug off the fabric from the art signs.

Next we decided on a height for the laminent shelving table and installed the brackets adding 4" for the stage height.  The brackets were held in place by toggle bolts.  You can read about which kind is right for your project at This Old House.  The laminent shelf was installed on top of the brackets by screwing screws on the underside of the brackets.

The brackets are 12" so if they decide to stand on them (I woudn't put it past Mister) the table won't fall.  
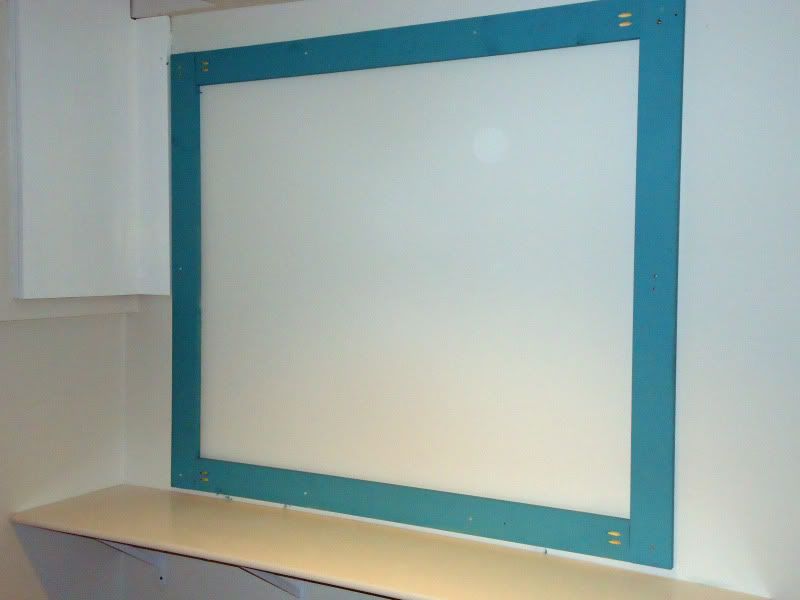
After the shelf was in place we decided how big of space there should be between the shelf and the pegboard.  One of the biggest challenges was making sure the table space wasn't covered by peg board and making sure the kiddos could read the pegboard.  This space was created for preschoolers, so everything has to be low.

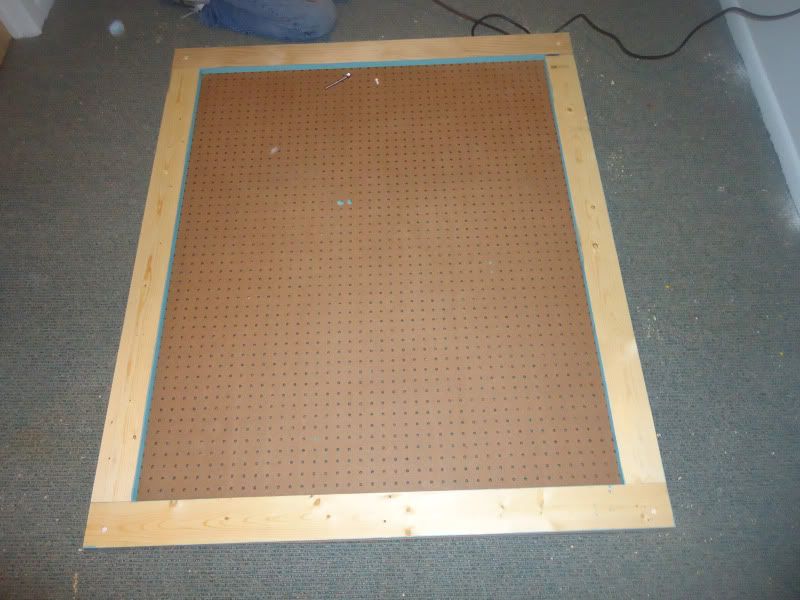
A frame was made for the pegboard, so the pegboard could be removed, there wouldn't be a lot of holes in the wall from the permanate fixtures, and hooks could be rearranged and heightened as they grow.


We checked to make sure the boards would make a nice frame for the pegboard
The frame was created using a Kreg Jig.
To hold the pegboard in place white plastic screw buttons.

My dad testing the screw buttons to make sure they were in the correct place.  We used 12 of these screws.
The pegboard is now ready to be mounted on the wall.  For decorative framed look we added a pine corner guard molding painted in Super White.  The frame was only added attached to the peg board so we could remove the pegboard as needed.

The bars and baskets are from Ikea.

Now, you have the start to an awesome art studio!  Check back for the rest of the tutorial.

Tuesday, January 1, 2013

It's A New Year's Thing

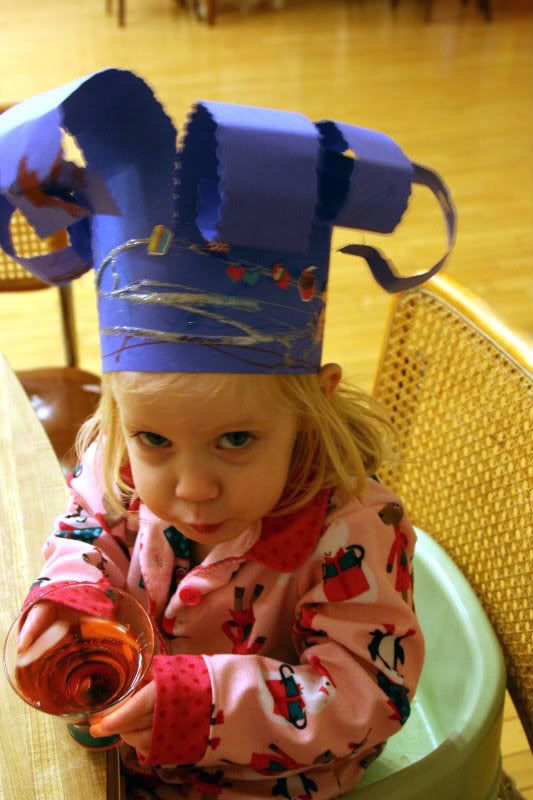
Among my other "things" I have a thing for starting traditions and New Year's Eve is the perfect time of year to create those family traditions.  Because we live the crazy life we have fondue and a dance party every year.  This fondue recipe is sure to be a hit with your kids and you.  Throw in some homemade party hats, homemade noisemakers, and party decorations and you can party in style - have kids who get up early style.

The Party Preparations!

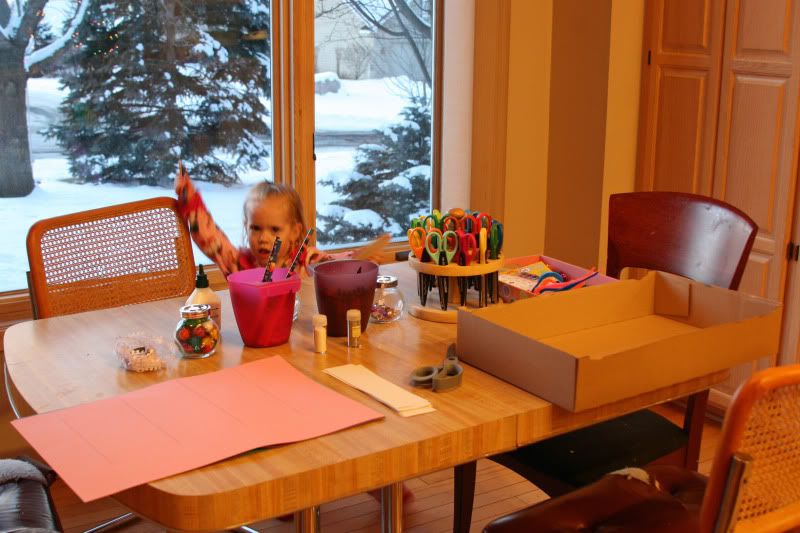
The Set-Up

The big box is our glittering box.  
The Progress

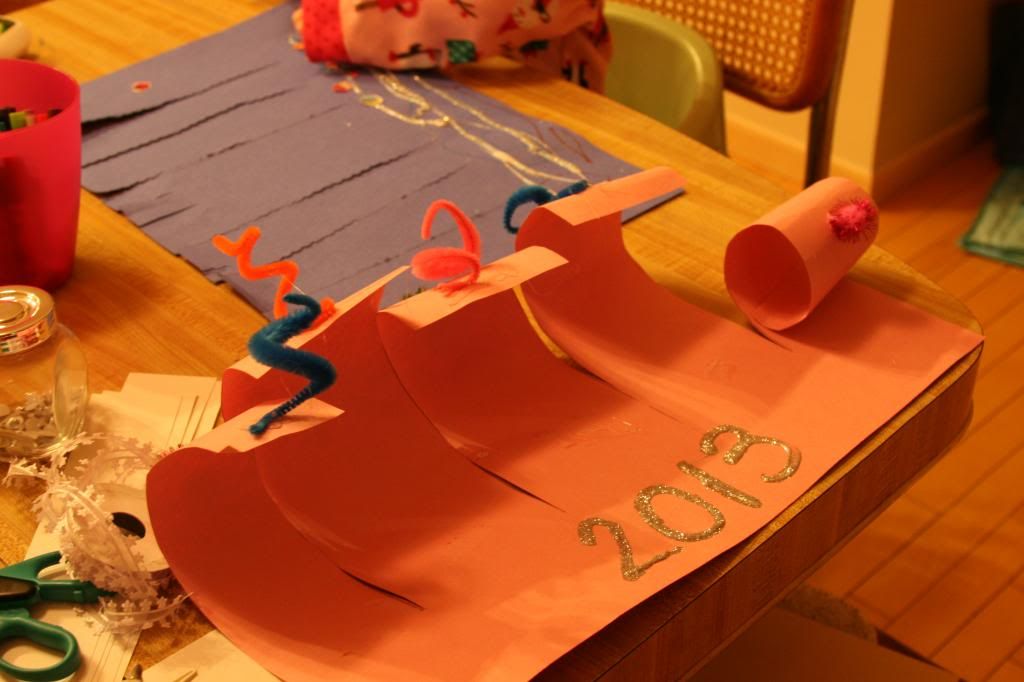
I drew lines for Mister and Ladybug to cut so they would know where to stop, but I encouraged them to make additional cuts if they wanted more curls.  

The Results


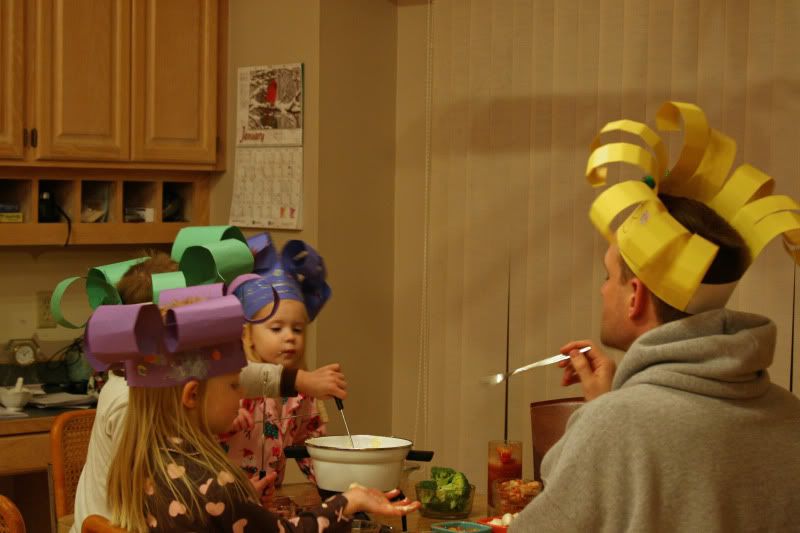
The Fondue and Kiddie Cocktails! 
We ate the entire pot of fondue plus 12 pieces of sushi and 3 mini desserts!

Fondue Dippers

  • Steak
  • Shrimp
  • Broccoli
  • Bread
  • Sweet Peppers
  • Cucumbers
  • Mushrooms
  • Tomatoes

The product of going to school is raising your hand at the table. 
She drank it all before the fondue started!

The Party

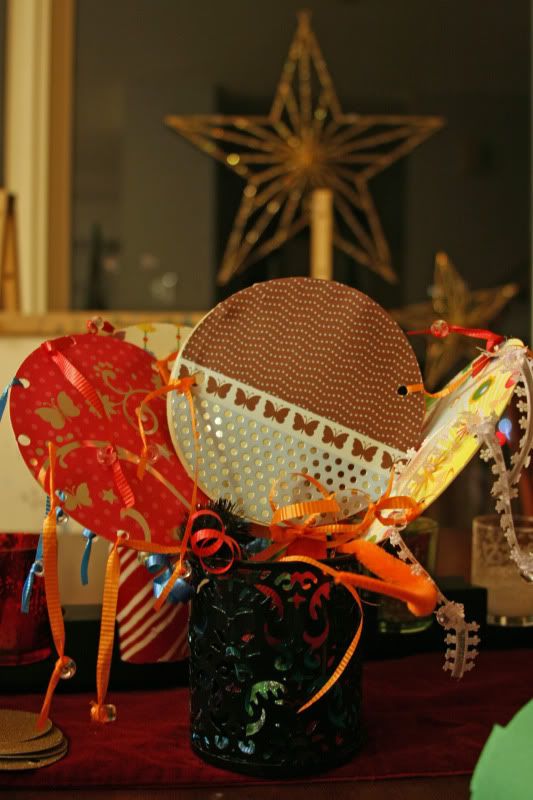
The noisemakers had lentils on the inside with pony beads attached to ribbons for an extra loud factor.  Stringing the pony beads was a good exercise in fine motor, too.

It's not a party without a lot of noise!  
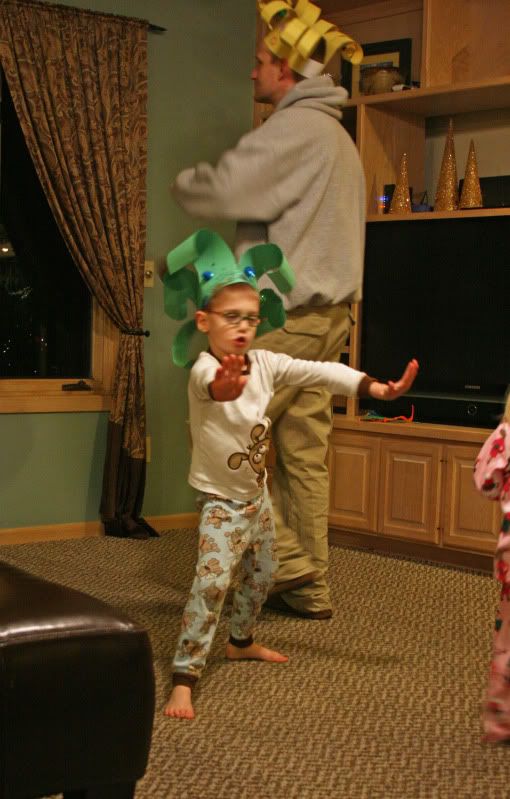
America's Best Dance Crew, er, stop, collaborate and listen.
A Wishing Tree
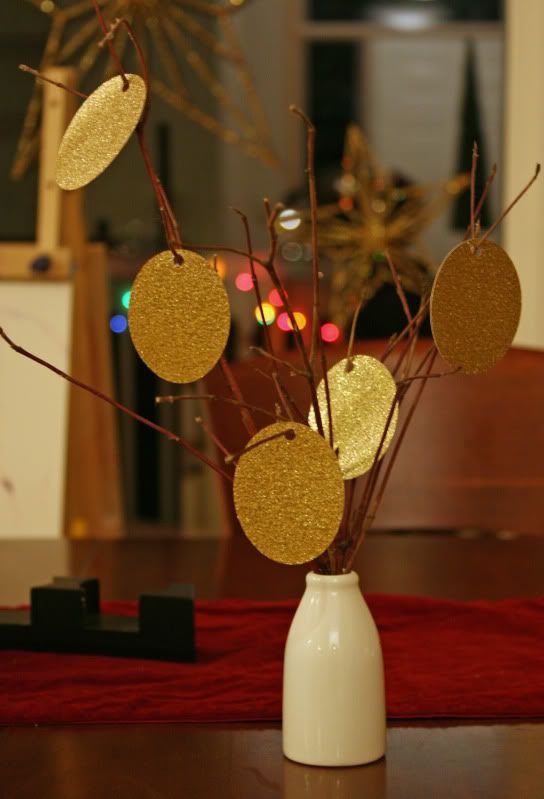
This was one of our newest tradition this year.  I plan to keep it out all year (maybe paint the branches, get a new holder, you know pretty it up) so we can revisit our wishes.

I used my Cricut to cut the ovals.


We also did some goal setting and talked about resolutions, but not until breakfast.  I have a tendency to plan a little too much, but I consider it a bonus from my teaching days.

Wednesday, December 26, 2012

The Reveal - Kid's Art Center

My husband has always told me not to set the bar too high or I will never be able to match it again, but since I am not great at taking advice I set the bar high.  For a little over 2 months, with my dad's help, we designed  and built an art station and a playhouse and now I need a vacation.  I take solace that I have until September to start another huge project and maintain my status as awesome mommy with the kiddos.

I posted a sneak peak of the center in early December and here is the finished product.  The inspiration came from here, here, and here all thanks to Pinterest (can you believe I actually did something I pinned?).  

Ladybug doing her first art project on Christmas morning.  

When I retrieve my point and shoot camera from my parent's house, I will blog the entire process.

Tuesday, December 18, 2012

DIY Wreath Ornament

I have a friend who is an amazing baker and decorator of all things sweet.  Her creations leave me thinking I can do the same thing and well I can't.  So, when I drew her name for an ornament exchange I knew what I wanted to do.  She needed a little of me (the wreath) and a little of her (the baking) on her tree.  Behold the cookie cutter wreath ornament!

Supplies from Michaels

  • Unopened floral tape ($1.99 full price)
  • Yarn
  • Small cookie cutters
  • Christmas card stock


You make it the same way as a regular wreath.


Monday, December 10, 2012

I Felt Naked

because my door didn't have any adornment for about a month.  It was nekkid and crying for some attention, so I thought I would make this new thing called a book pages wreath.  New and innovative about 3 years ago, but I am always running a few years behind.  I love this wreath so very much and it cost less than $5 and the mister thought that was the best part.

The back of the wreath is a 9"x9" square with a small circle cut out in the middle.  I added a few pages on the outside and now I can see I need to add a few more.  No craft is complete without herpes, er glitter.