In my last
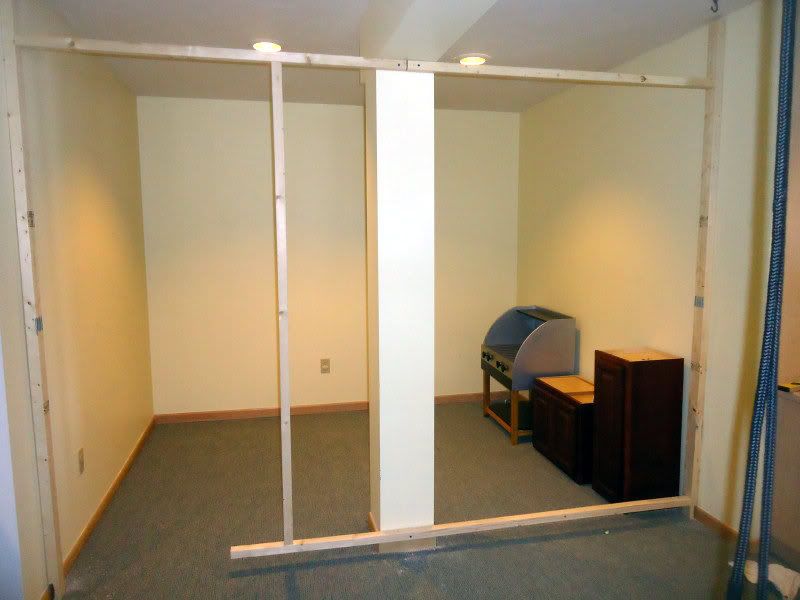
post about the art studio it was all about heavier lifting and now it's time to put it all together or the fun part.
This space isn't particularly girly and if Ladybug would have been the team leader she would have picked lavender, pink, dark purple, and glitter. I chose to use a few pieces we already owned, purchased from
Spell It With Style, to help design the space.
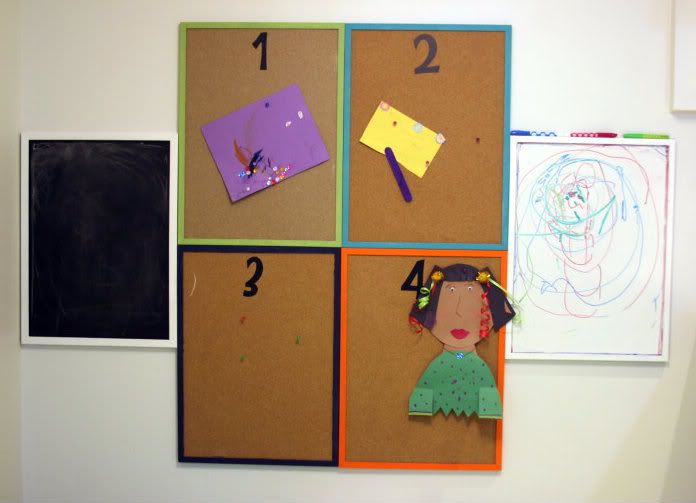
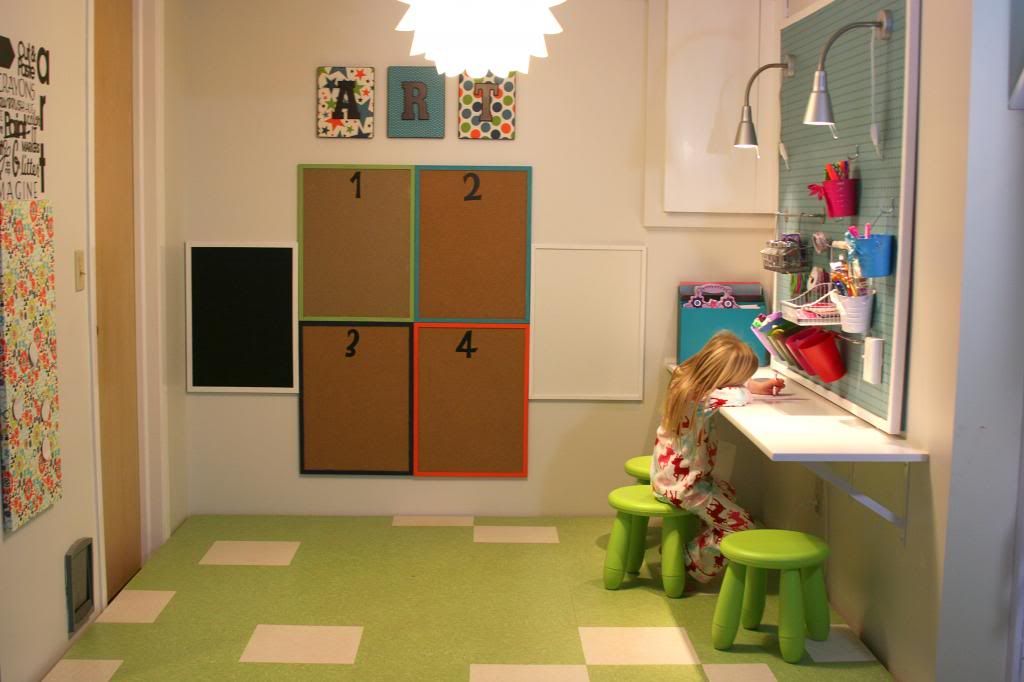
I picked up 4 inexpensive framed cork boards, 1 white board, and 1 chalk board for art display and extra workspace. On each cork board I did a light sand and painted one of the four colors from the ART. Using my Cricut machine a number was added to the top to give it a little something extra. My husband and I played around with multiple figuration, so could reach the cork boards and the extra drawing spaces. It was a challenge because they aren't very tall. When we found the only thing that worked they were nail gunned to the wall. Those aren't going anywhere.
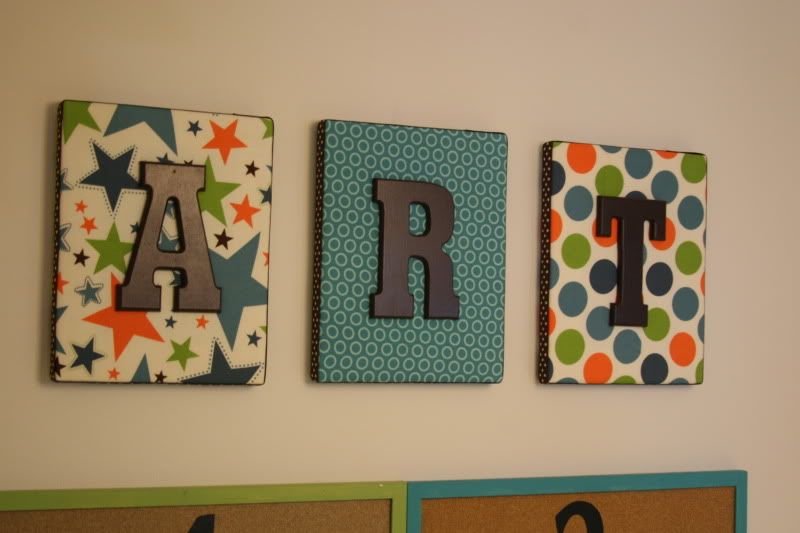
On the opposite wall from the work space I covered an
IKEA Spontan board with fabric using industrial hot glue. Above the magnetic board I put my spin and first attempt at Subway art. This project took longer than any other thing in the entire kid's art studio.
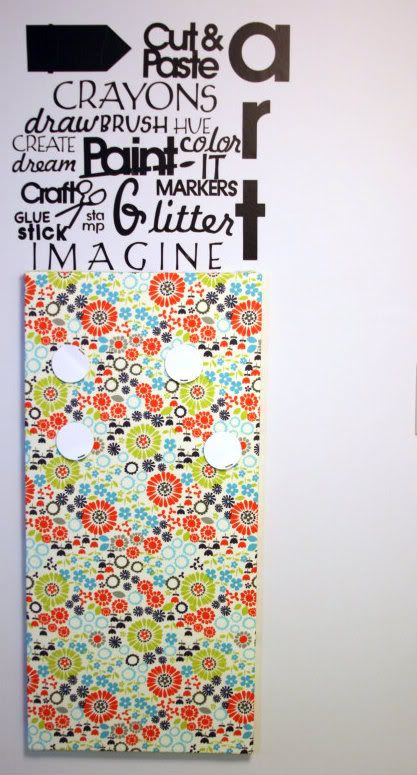 |
| Usually, I dislike and have a hard time with mismatched patterns, but my mom convinced me the space needed some whimsy. |
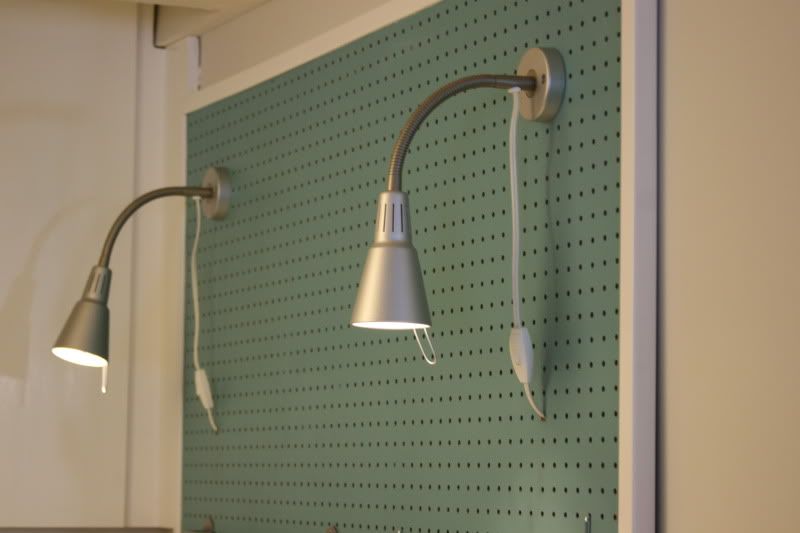
On the pegboard IKEA baskets, buckets, and lights were affixed to the board along with movable hooks. The lights are wired together and a switch is used to turn both on. I am not going to try to explain the wiring because, well, I didn't do any of it.
Finally, my husband installed an
IKEA Knappa light that ladybug chose, but had no idea why she was picking it out, in the old can light. You can see a hole around the light because we have the only model of can light that was not on the can light adaptor list. Not only was the light a pain to put up, but IKEA directions have to be the worst directions of all time.
There you have the completed kids art studio! The whole project took a little over two weeks working 2-3 days a week for a few hours a day plus some evenings.
If you have a kid's art space I would love to see it since I am always looking for new ideas! Feel free to leave a comment and a link to your space.