Showing posts with label Craft. Show all posts

Thursday, May 1, 2014

Arts and Crafts - Treasure Basket

We are an artsy crapsy kinda family.  I have a Honey Do List that keeps growing, a little gal who saves every scrap just in case she needs to craft, and another gal who asks every day what kind of art project we are going to do.  The boy, well, he's a little more like the only other male in this house, but he puts up a good face just as long as we play football or dinosaurs or space travel every so often.

This month June's basket if full of things we use to craft:

  • Fabric - Varying textures and colors
  • Ribbon - Varying lengths, textures, and colors
  • Pony beads in a bottle
  • Jewelry beads in a bottle
  • Broken crayons in a bottle
  • Styrofoam balls - We will see how long these last with a oral baby
  • Watercolors
  • Washi Tape
  • Glitter glue
  • Crepe paper
  • Popsicle stick


Friday, February 14, 2014

You Drive Me Wild, Valentine!

Just tuck this in your back pocket for next year.

Amazon Prime add on stickers + Avery design and print online = You drive me wild, Valentine. 

Factor in that I didn't have to take four to the store in tundra weather and you have a winner, folks. 

Tuesday, February 12, 2013

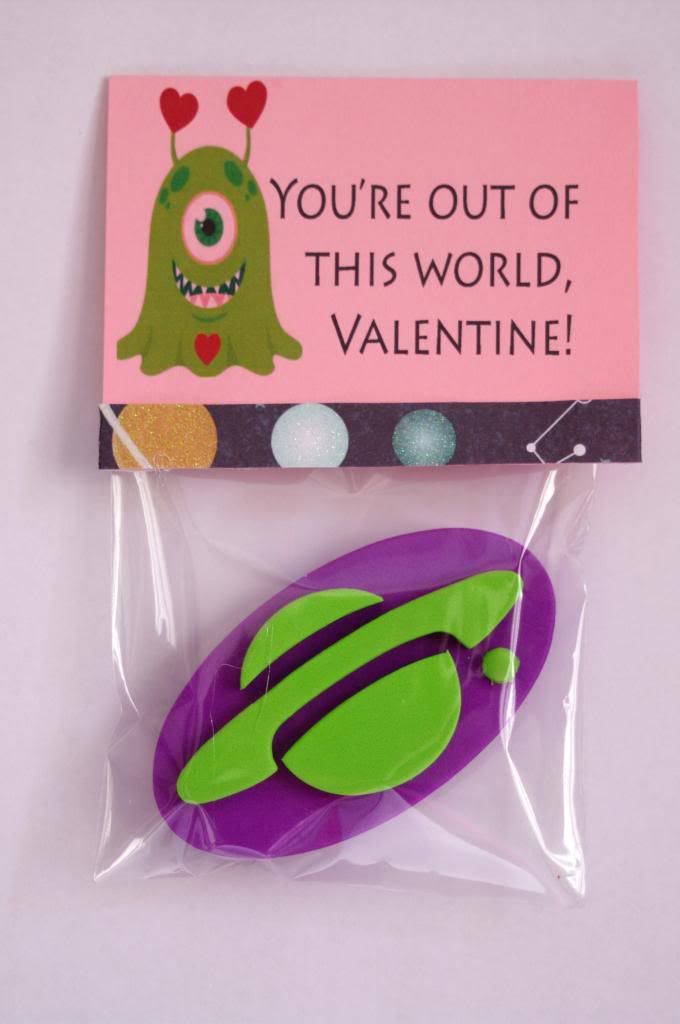
You're Out of This World - Valentine Cards

Mister and Ladybug's teacher requested that the valentine day cards did not include food this year.  Last year we did Love Bugs and Pocket Full of Kisses and since they have many of the same kids in their class we I decided we needed a new idea.

Mister is really into space and I found space stamps at oriental trading.


Ladybug is really into princess, but I didn't think the boys in her class would love to get a wand, although I  might be surprised, so I went off Mister's stamps.


And for their teachers.  Thanks to Pinterest, I was able to combine two ideas.  I will swap the kisses for valentine colored kisses.  I know this goes against the no food thing, but it's not for the kids.  Right?


Happy Valentine's Day!

Friday, January 25, 2013

Making A Piggy

What I am going to say you may not believe, but I promise the next activity is not a huge mess to clean.  I mean it's no bigger of a mess than most things we do and to tell you the truth I asked myself what I was thinking doing this with two 4-year-olds and a 2-year-old.  

Papier-Mache!  (DUN DUN DUN)

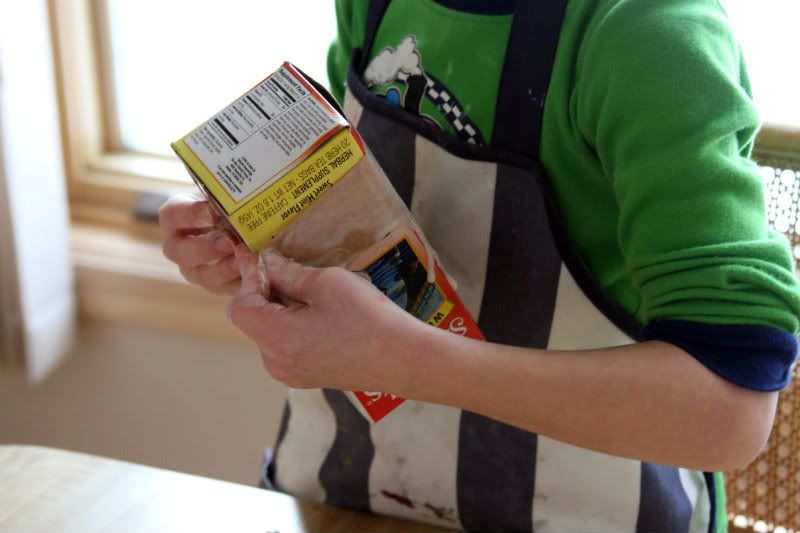
If you didn't immediately click out of this page then check out these cute piggy banks made from tea boxes.

Ingredients - Just in case you haven't papier-mached since elementary school

  • Equal parts flour and water
  • Torn paper - We used paper bags
  • Box or balloon to papier-mache
  • Big bowl

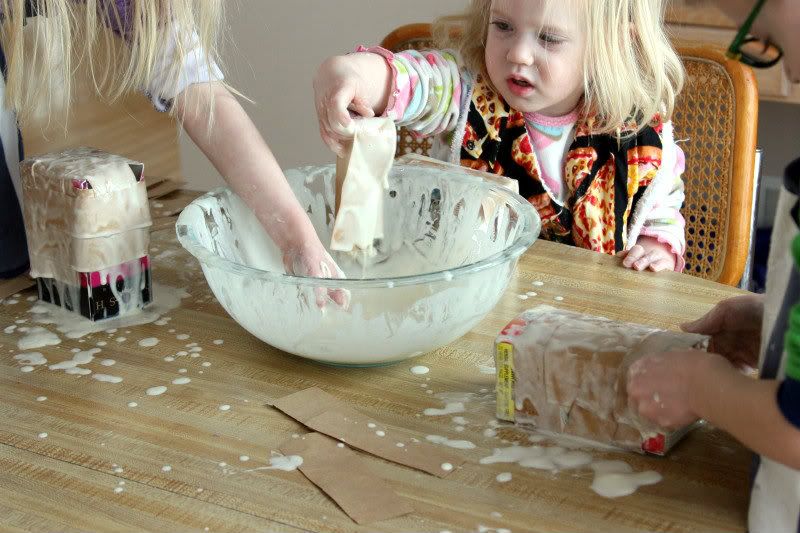
After we mixed our flour and water until we had a paste mixture, I showed Mister, Ladybug, and the Wee One how to put the strips in the mixture, remove the excess, and place on their box.  The Wee One was hesitant because she didn't exactly love the feeling of the flour and water, but she came around when she saw her siblings have a blast.


Was this a bad choice for pictures?  Again, don't be afraid of the mess because it wipes up easily.  I also stuck them in the shower for easy kid clean up.
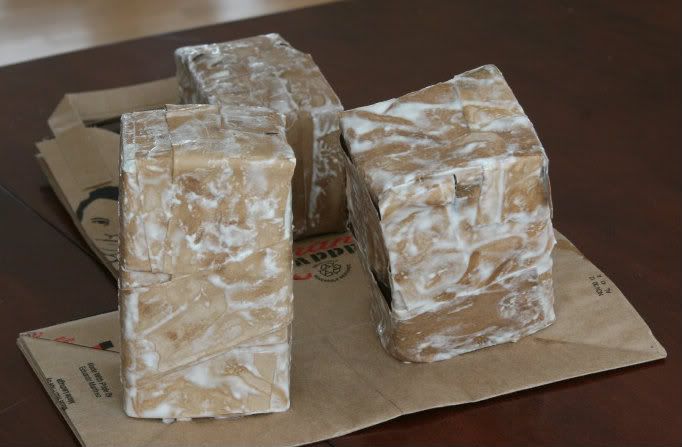
These took at least 4 days to fully dry and harden, but they were amazed at how hard the boxes were.
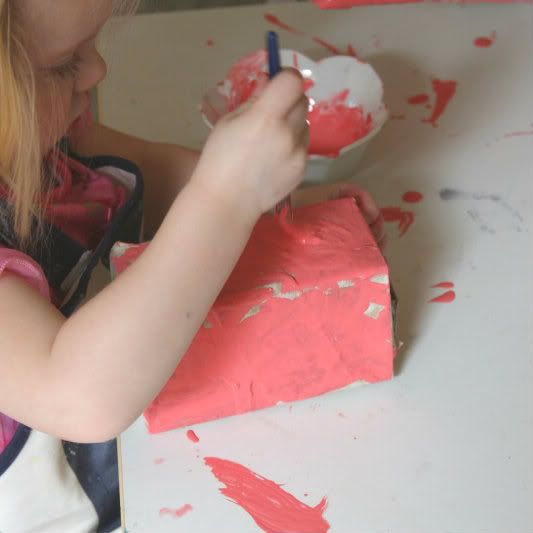
After the boxes have fully dried I cut a slit in the top for coins and a flap on the bottom to remove the coins.  They painted them and let them dry for another day.


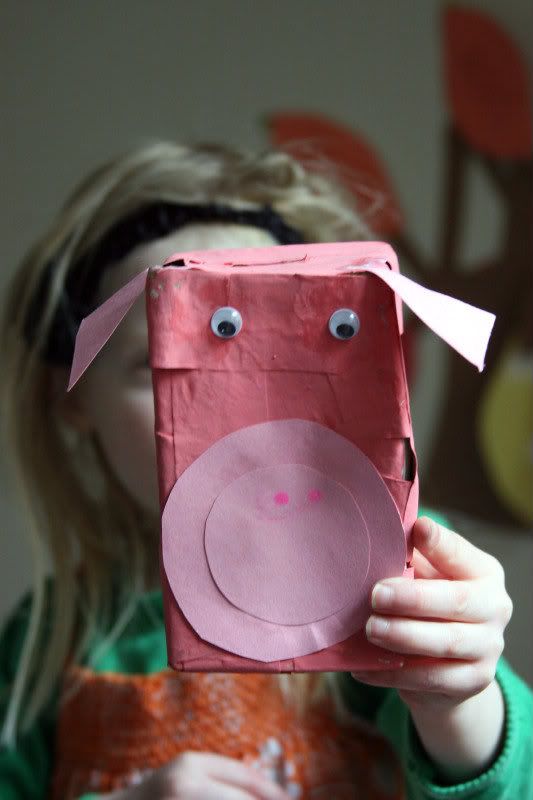
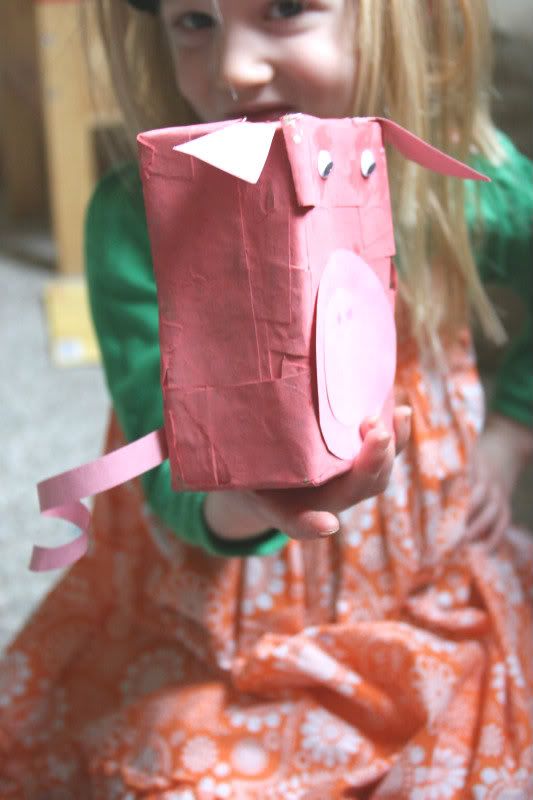
We added a nose, eyes, ears, and a tail for a finished papier-mache piggy bank.


And in case you were wondering about the girl's fashion we had chose your own clothing adventure.  She was very creative.

Enjoy!

Thursday, January 3, 2013

Built-In Art Studio - Part 1

The Space

Our basement playroom has two little square spaces that seemed to always collect junk.  I tried to make one area a dramatic play center, but it took too much work to change it as much as I would have liked.  The other space, now the art center, was an unfinished dancing stage.  At one point Ladybug asked or a dancing stage and as soon as we finished making the stage she lost interest.  It sat untouched for over a year until Ladybug asked for an art studio.

Supplies
  • 1x2 pine boards
  • Pegboard
  • Laminate shelving
  • Brackets
  • Screws 
  • Power Tools 
  • Paint
The How-To

I started of by painting the entire space Benjamin Moore White Wisp and the trim Benjamin Moore Super White.  I wanted the art work to be the focus and the walls a backdrop and I am having a love affair with gray.

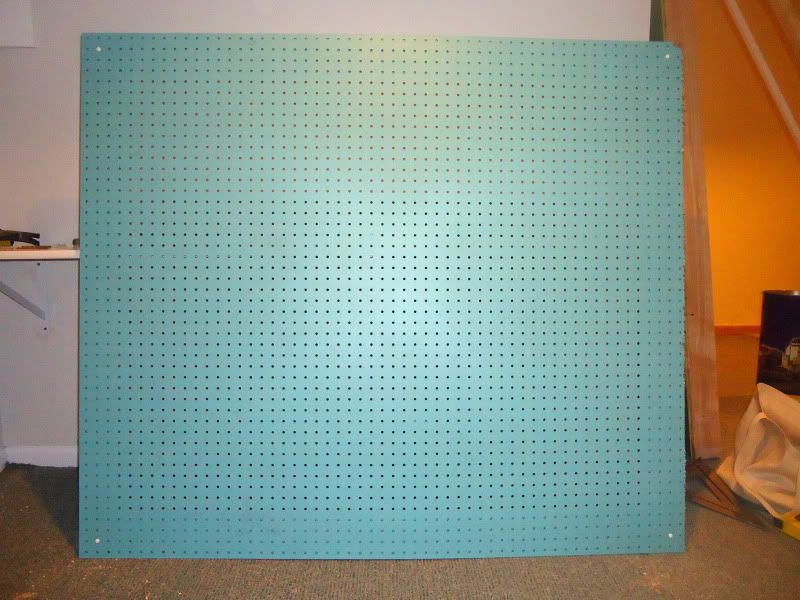
The wall where we wanted the pegboard was measured and cut at the store.  I painted it Benjamin Moore Bahaman Sea Blue.  The color was chosen by Ladybug off the fabric from the art signs.

Next we decided on a height for the laminent shelving table and installed the brackets adding 4" for the stage height.  The brackets were held in place by toggle bolts.  You can read about which kind is right for your project at This Old House.  The laminent shelf was installed on top of the brackets by screwing screws on the underside of the brackets.

The brackets are 12" so if they decide to stand on them (I woudn't put it past Mister) the table won't fall.  
After the shelf was in place we decided how big of space there should be between the shelf and the pegboard.  One of the biggest challenges was making sure the table space wasn't covered by peg board and making sure the kiddos could read the pegboard.  This space was created for preschoolers, so everything has to be low.

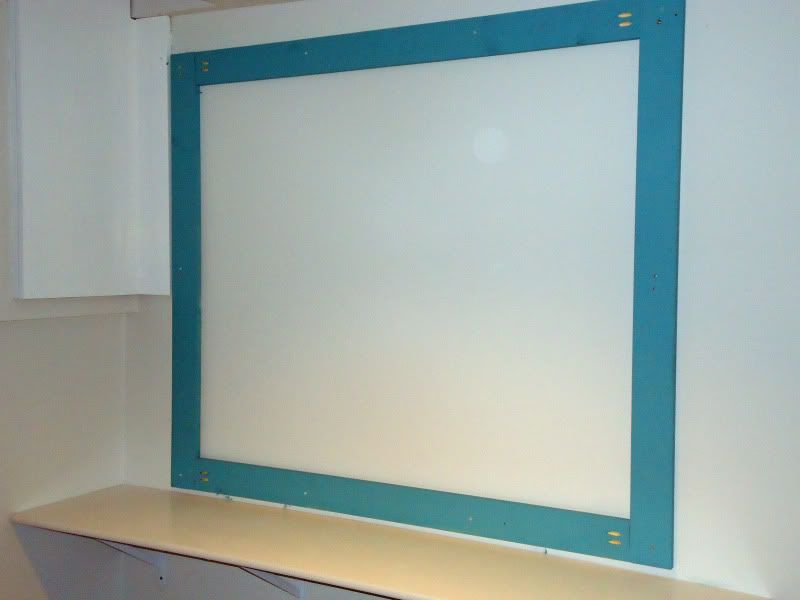
A frame was made for the pegboard, so the pegboard could be removed, there wouldn't be a lot of holes in the wall from the permanate fixtures, and hooks could be rearranged and heightened as they grow.
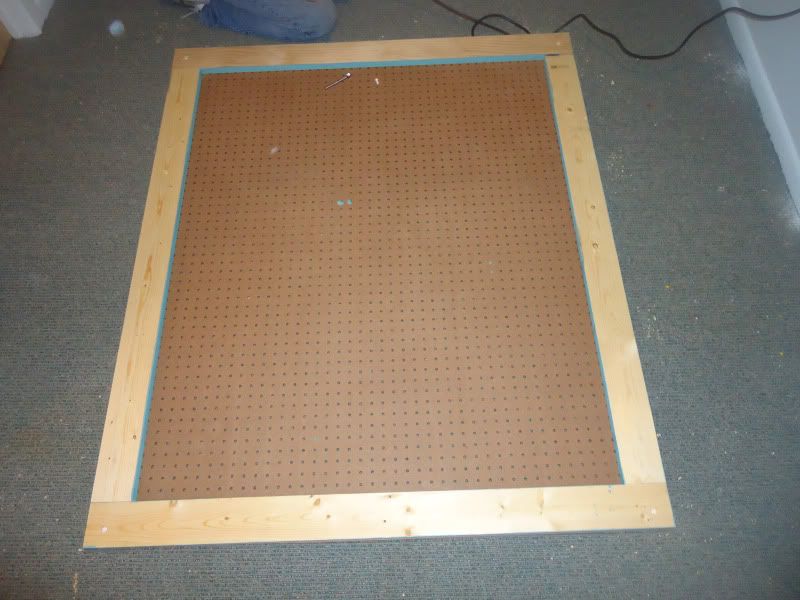


We checked to make sure the boards would make a nice frame for the pegboard
The frame was created using a Kreg Jig.
To hold the pegboard in place white plastic screw buttons.

My dad testing the screw buttons to make sure they were in the correct place.  We used 12 of these screws.
The pegboard is now ready to be mounted on the wall.  For decorative framed look we added a pine corner guard molding painted in Super White.  The frame was only added attached to the peg board so we could remove the pegboard as needed.

The bars and baskets are from Ikea.

Now, you have the start to an awesome art studio!  Check back for the rest of the tutorial.

Tuesday, January 1, 2013

It's A New Year's Thing

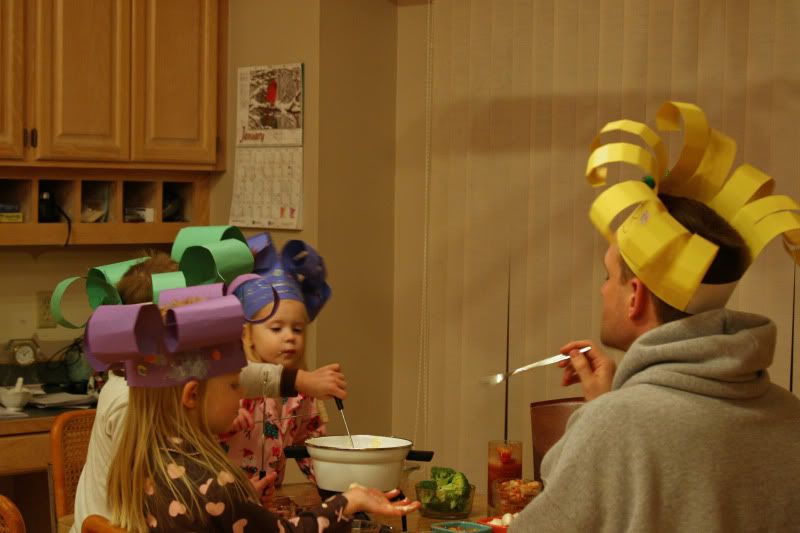
Among my other "things" I have a thing for starting traditions and New Year's Eve is the perfect time of year to create those family traditions.  Because we live the crazy life we have fondue and a dance party every year.  This fondue recipe is sure to be a hit with your kids and you.  Throw in some homemade party hats, homemade noisemakers, and party decorations and you can party in style - have kids who get up early style.
The Party Preparations!

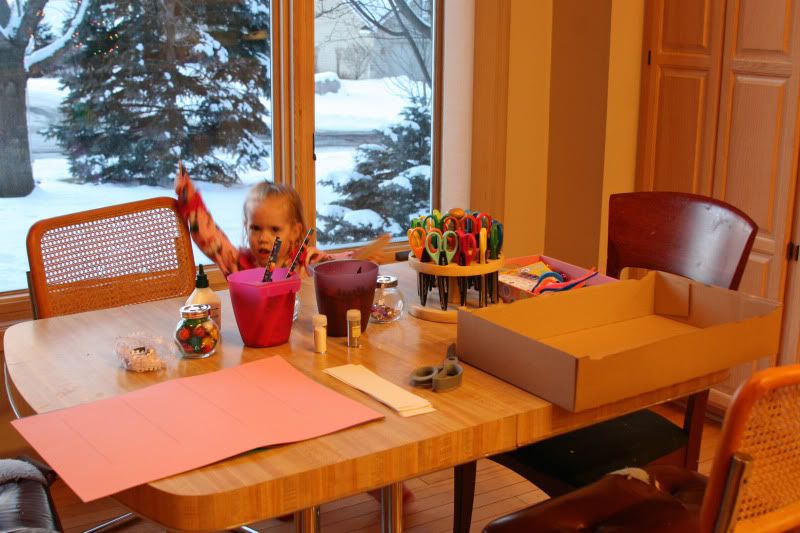
The Set-Up

The big box is our glittering box.  
The Progress

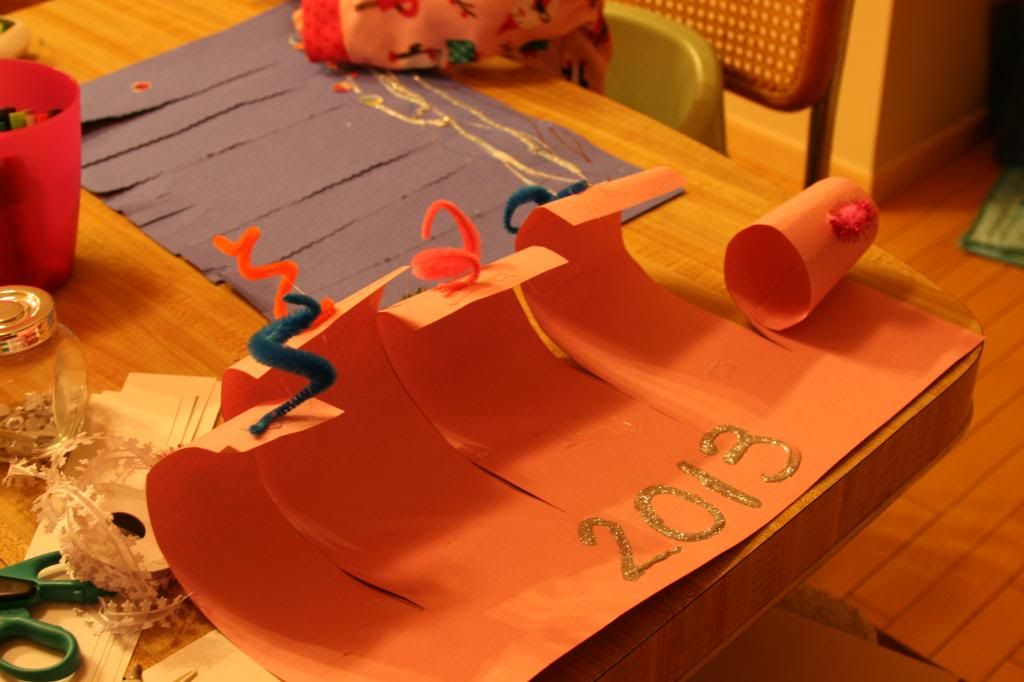
I drew lines for Mister and Ladybug to cut so they would know where to stop, but I encouraged them to make additional cuts if they wanted more curls.  

The Results


The Fondue and Kiddie Cocktails! 
We ate the entire pot of fondue plus 12 pieces of sushi and 3 mini desserts!

Fondue Dippers

  • Steak
  • Shrimp
  • Broccoli
  • Bread
  • Sweet Peppers
  • Cucumbers
  • Mushrooms
  • Tomatoes

The product of going to school is raising your hand at the table. 
She drank it all before the fondue started!

The Party

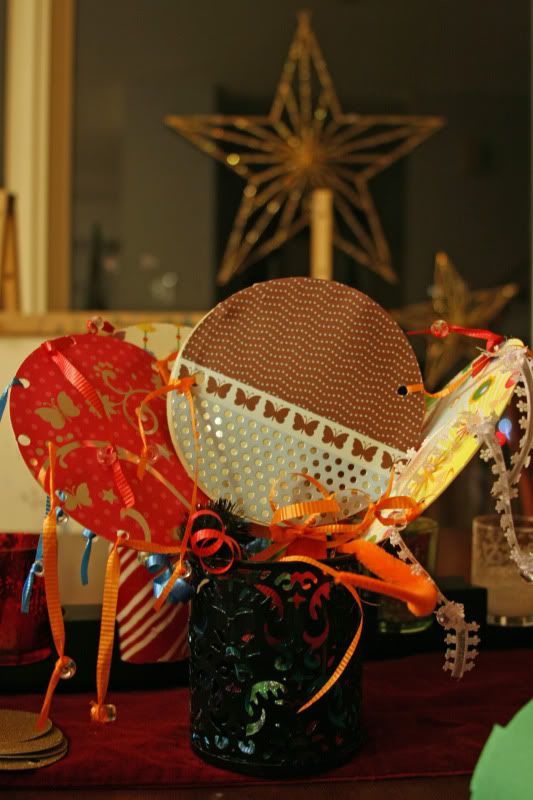
The noisemakers had lentils on the inside with pony beads attached to ribbons for an extra loud factor.  Stringing the pony beads was a good exercise in fine motor, too.

It's not a party without a lot of noise!  
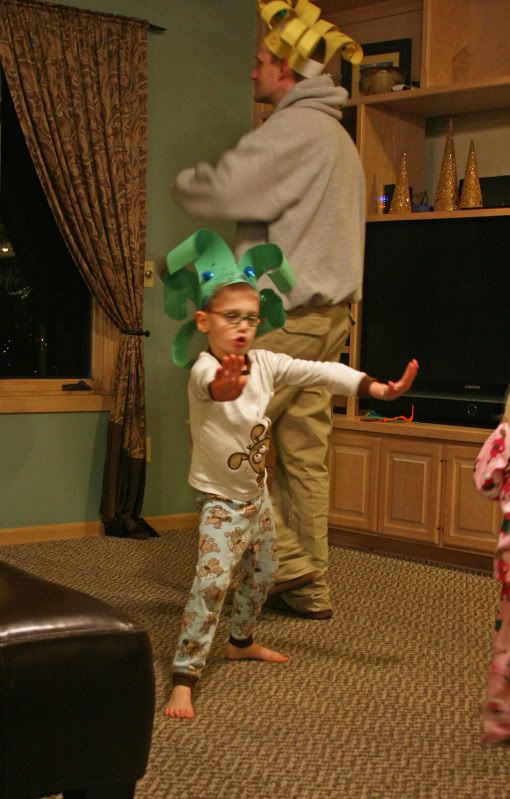
America's Best Dance Crew, er, stop, collaborate and listen.
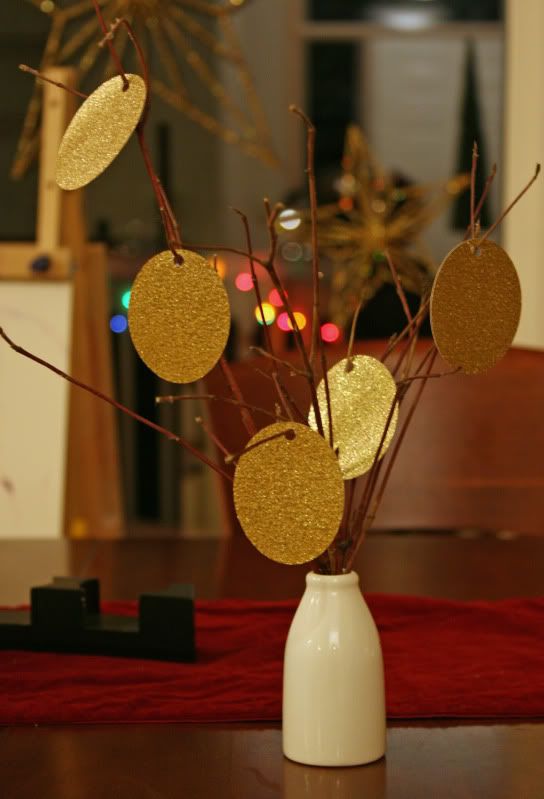
A Wishing Tree
This was one of our newest tradition this year.  I plan to keep it out all year (maybe paint the branches, get a new holder, you know pretty it up) so we can revisit our wishes.

I used my Cricut to cut the ovals.


We also did some goal setting and talked about resolutions, but not until breakfast.  I have a tendency to plan a little too much, but I consider it a bonus from my teaching days.

Monday, October 8, 2012

Mummy, I'm Scared!

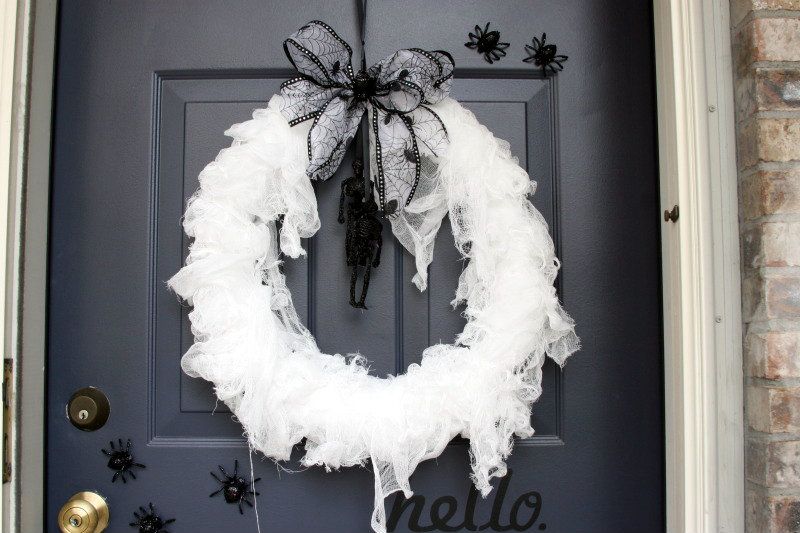
Here's the thing about wreaths: I can start and finish one during nap time and I feel so accomplished.  I am so in love with this wreath. My inspiration wreath was way out of the budget, but I really, really wanted one.

The wreath form is an insulation foam pipe from the hardware store and make sure you read this tutorial before you make the circle.  I reinforced it with white duct tape and covered in cheese cloth.  Two skeletons hanging from the middle for a little scare factor and finished - Nap time crafting.


Mister and Ladybug helped me attach magnets to the spiders and arrange the spiders to give it a little more creep.  I think the arranging took longer than the wreath.


Monday, March 5, 2012

What's The Weather?

Here are the first set of activities on our shelves.

Math

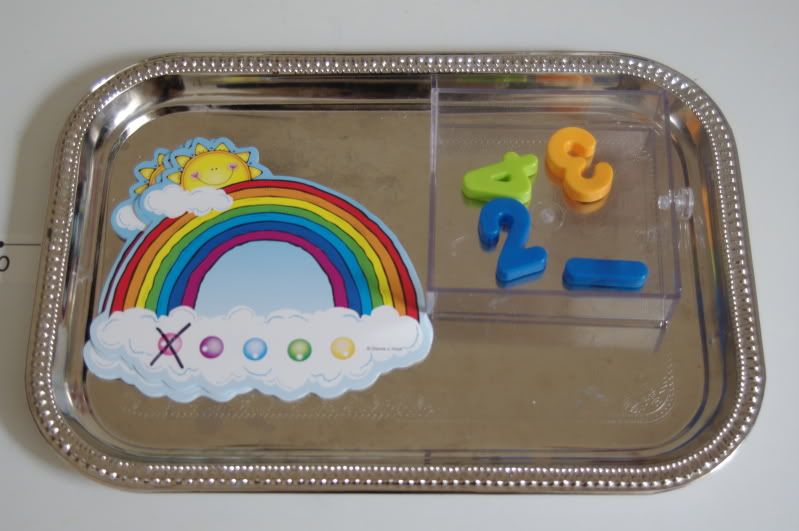
Beginning subtraction - When I presented the activity I did a think aloud and said, "There were ____ dots.  One dot was crossed out and now there are ____ dots."

Literacy


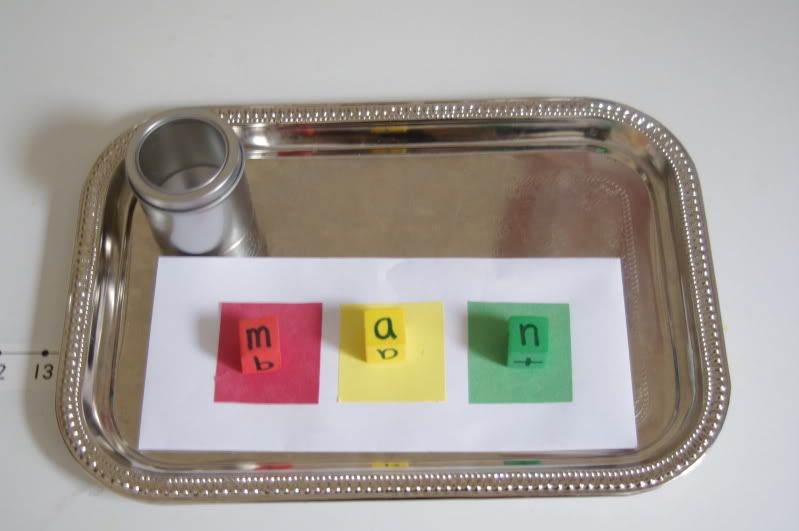
Roll a word - I think I should have put green as first so it was go and stop. 
 
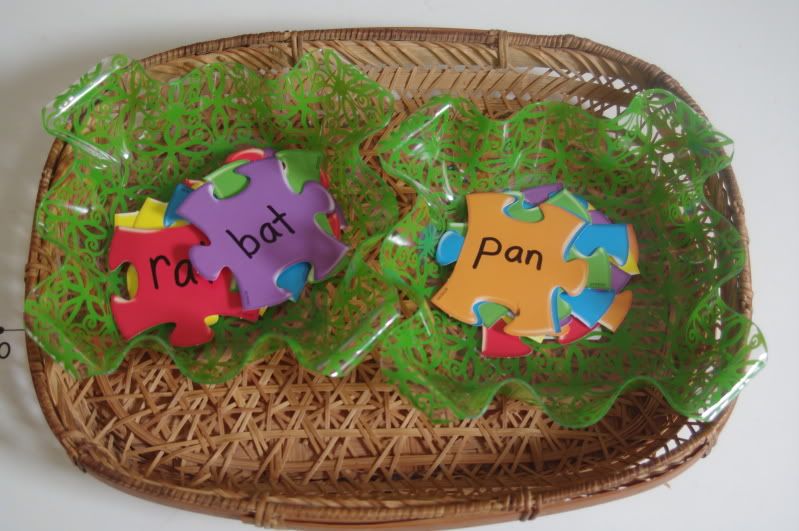
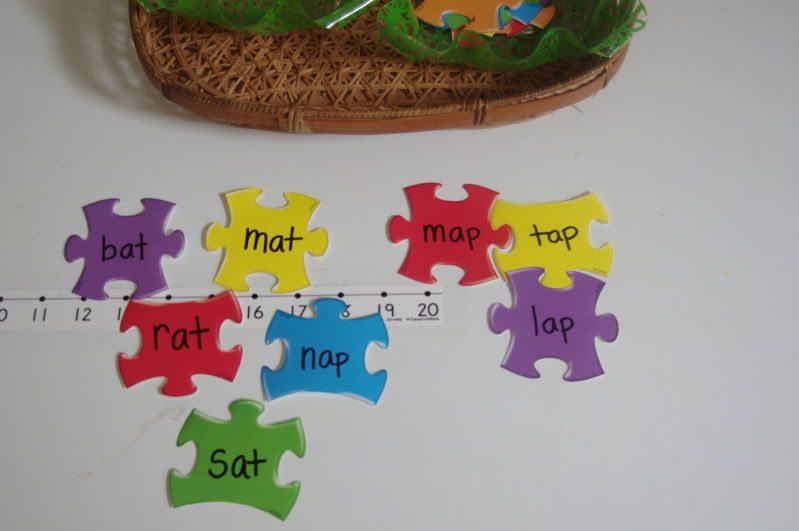
Words that rhyme puzzles
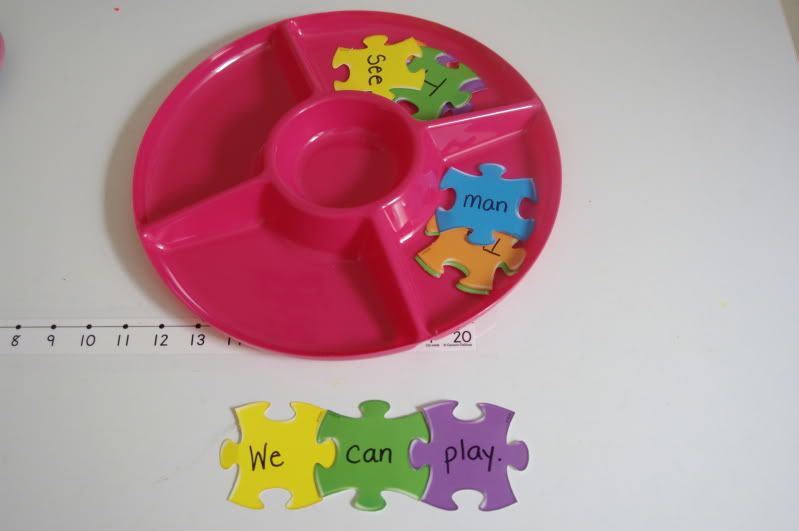
Sight word sentences.  When I presented this I made them aware of the capital letter at the beginning as a clue for the first word and the period at the end to send the sentence.
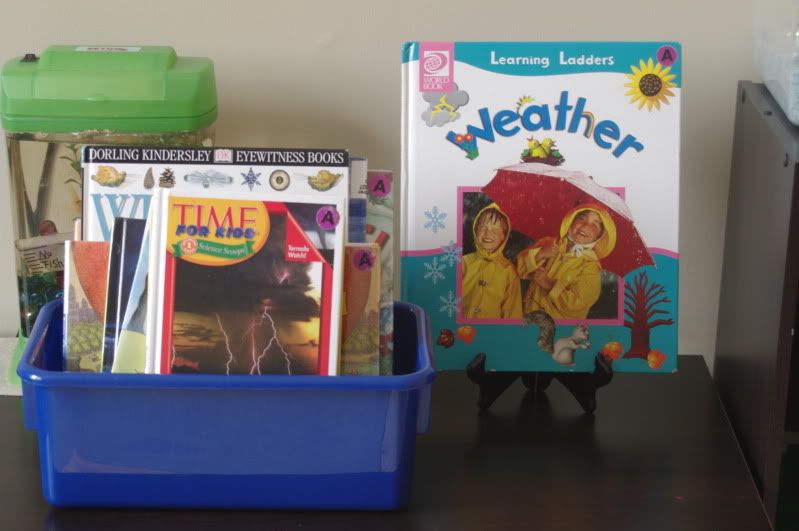
Nonfiction reading - I separated the books into fiction (in the book sling) and nonfiction on the shelves.
Sensory
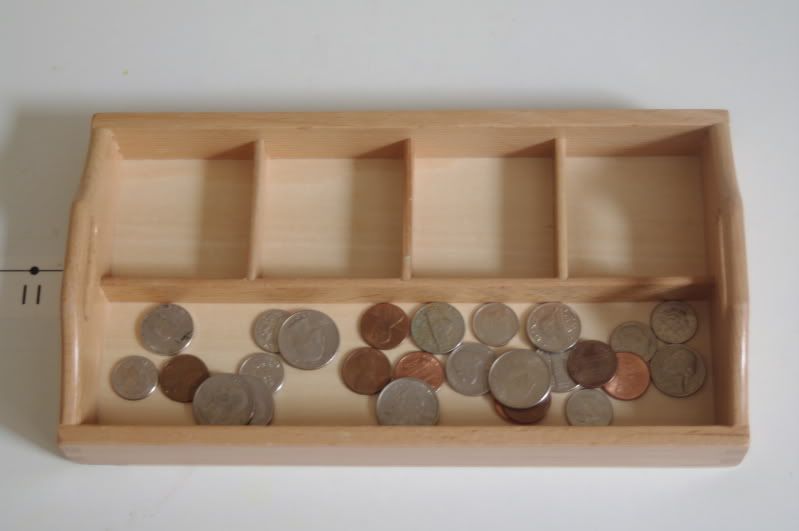
We are starting to discuss money this month and I put a coin sort out. 

Practical Life

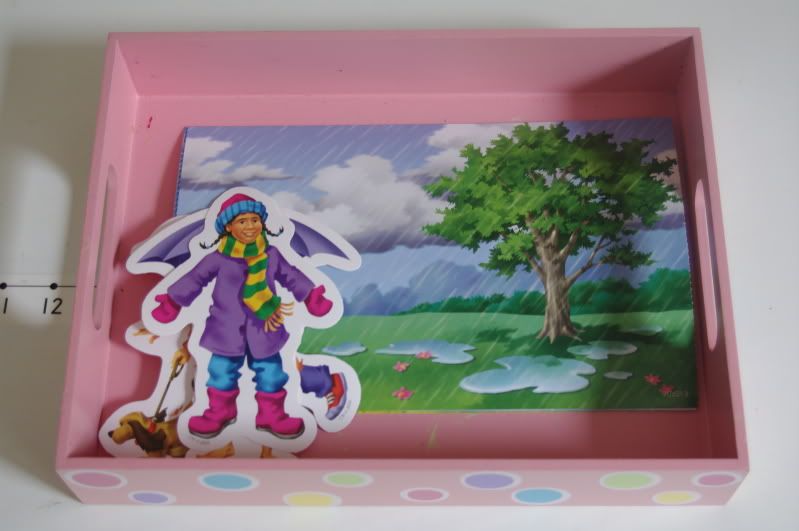
Dressing for the weather.
Raindrops
Art

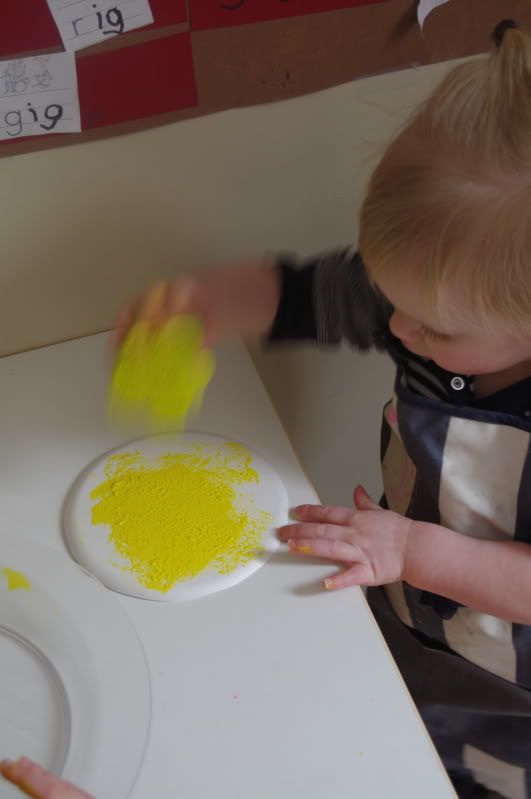
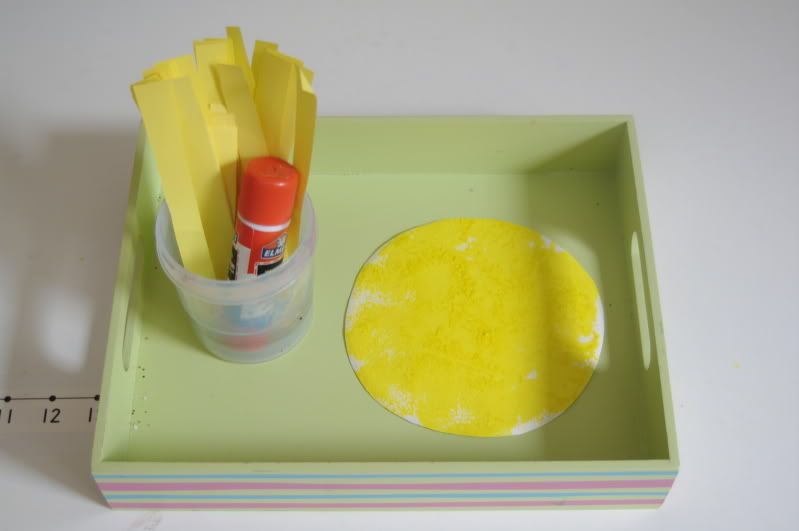
When the circle dried I put them on the tray to add rays.

Monday, February 13, 2012

And For the Boys

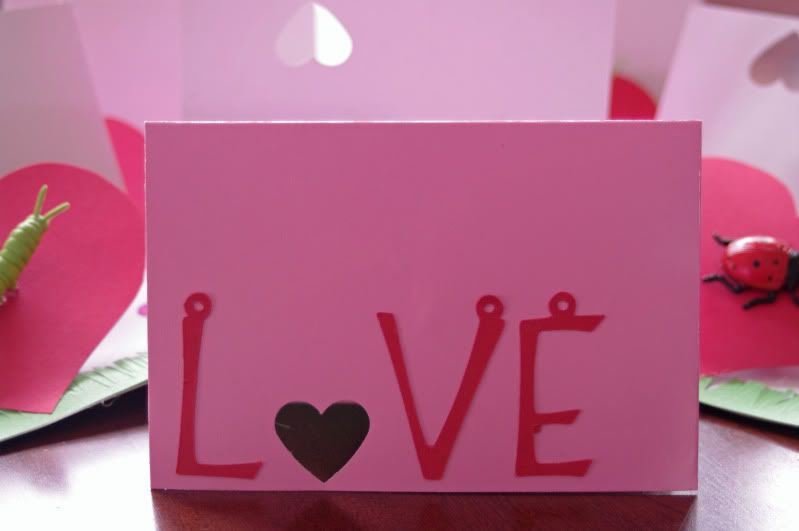
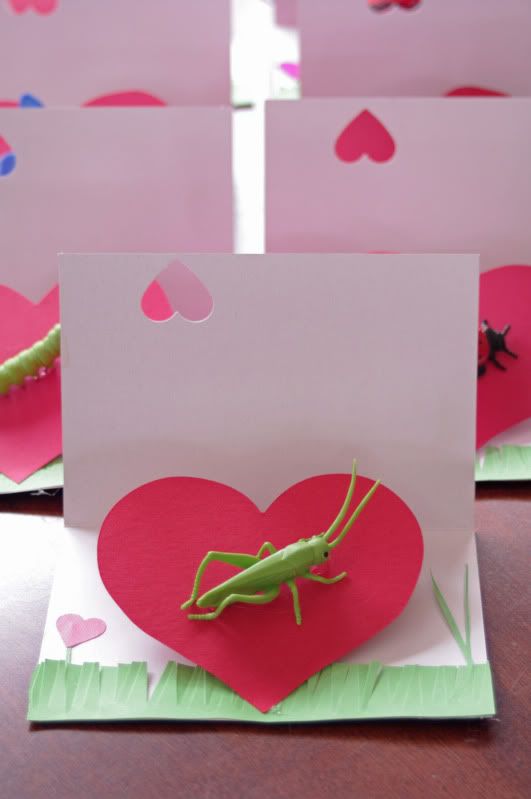
We try not to stick to typical gender stereotype toys here.  Mister might be found in a tutu playing cars or Ladybug wearing Batman undies. BUT Mister is definitely gravitates toward cars, trucks, bugs, and rough and tumble play.   I wanted to give Mister his own Valentine's Day cards and my goal was to make it more boy.  When I asked my husband if they were boyish he laughed and said, "Nothing screams boy like pink and hearts....very boy." I stammered back, "But, but there are insects...see!" 

What can I say I like hearts and pink and here are Love Bug Valentine's.


Wednesday, February 1, 2012

Brr It's Cold - Part 2

I know, I know it's February, but we did a lot of activities at the end of the month.  Here's the second set of trays on our shelves.

Math
Roll and add - Beginning addition

Literacy


Ending sounds - I found Mister wasn't looking at every letter and would put a "t" on the end of every word. 

Practical Life


As the ice cubes melted the activity became harder.  The Wee One also participated in this activity.


Sensorial


AB patterns, AABB patterns, and ABC patterns


Art

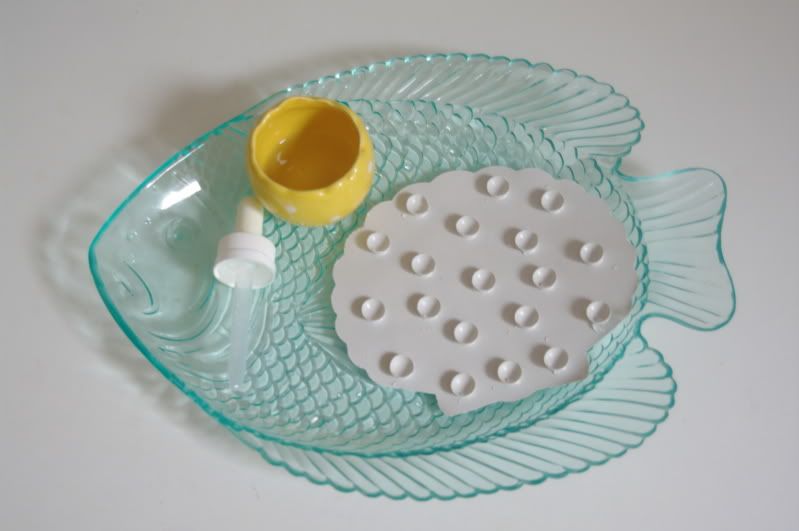
Mister and Ladybug used a marker to color on coffee filters and then a water dropper (practical life and great fine motor/correct pencil grip) to run the marker.

I folded the paper into thirds for them to cut, but with an older child I would have him or her fold the paper.

Beautiful snowflakes (since we lack snow this year) to decorate our room.  Ladybug has been making coffee filter snowflakes every day.