Showing posts with label Prepared Environment. Show all posts

Thursday, January 3, 2013

Built-In Art Studio - Part 1

The Space

Our basement playroom has two little square spaces that seemed to always collect junk.  I tried to make one area a dramatic play center, but it took too much work to change it as much as I would have liked.  The other space, now the art center, was an unfinished dancing stage.  At one point Ladybug asked or a dancing stage and as soon as we finished making the stage she lost interest.  It sat untouched for over a year until Ladybug asked for an art studio.

Supplies
  • 1x2 pine boards
  • Pegboard
  • Laminate shelving
  • Brackets
  • Screws 
  • Power Tools 
  • Paint
The How-To

I started of by painting the entire space Benjamin Moore White Wisp and the trim Benjamin Moore Super White.  I wanted the art work to be the focus and the walls a backdrop and I am having a love affair with gray.

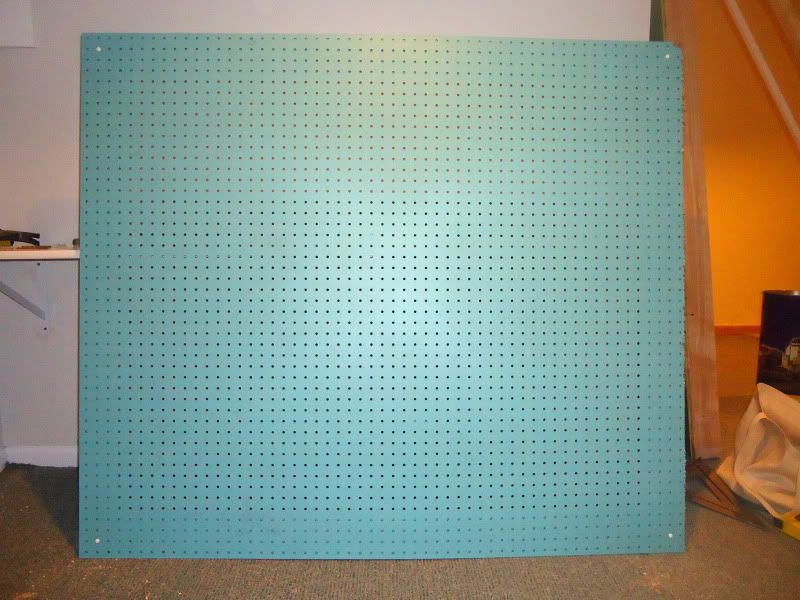
The wall where we wanted the pegboard was measured and cut at the store.  I painted it Benjamin Moore Bahaman Sea Blue.  The color was chosen by Ladybug off the fabric from the art signs.

Next we decided on a height for the laminent shelving table and installed the brackets adding 4" for the stage height.  The brackets were held in place by toggle bolts.  You can read about which kind is right for your project at This Old House.  The laminent shelf was installed on top of the brackets by screwing screws on the underside of the brackets.

The brackets are 12" so if they decide to stand on them (I woudn't put it past Mister) the table won't fall.  
After the shelf was in place we decided how big of space there should be between the shelf and the pegboard.  One of the biggest challenges was making sure the table space wasn't covered by peg board and making sure the kiddos could read the pegboard.  This space was created for preschoolers, so everything has to be low.

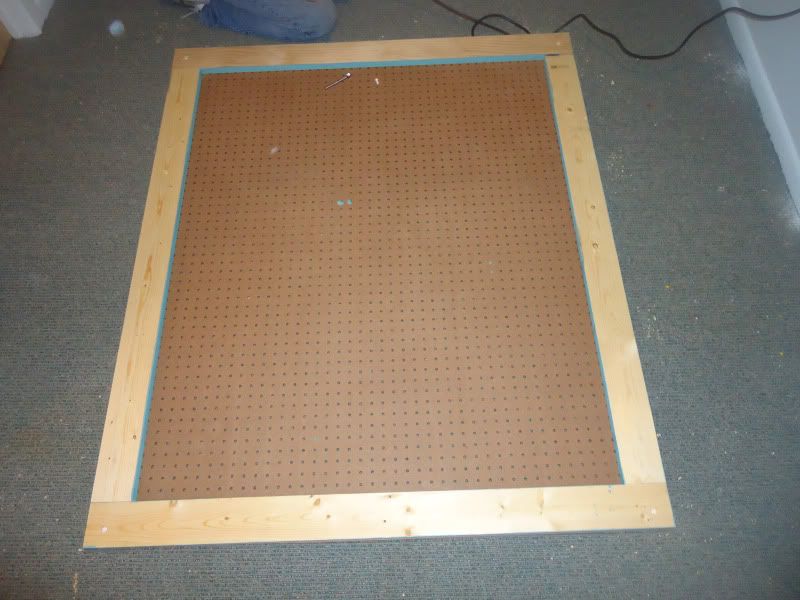
A frame was made for the pegboard, so the pegboard could be removed, there wouldn't be a lot of holes in the wall from the permanate fixtures, and hooks could be rearranged and heightened as they grow.
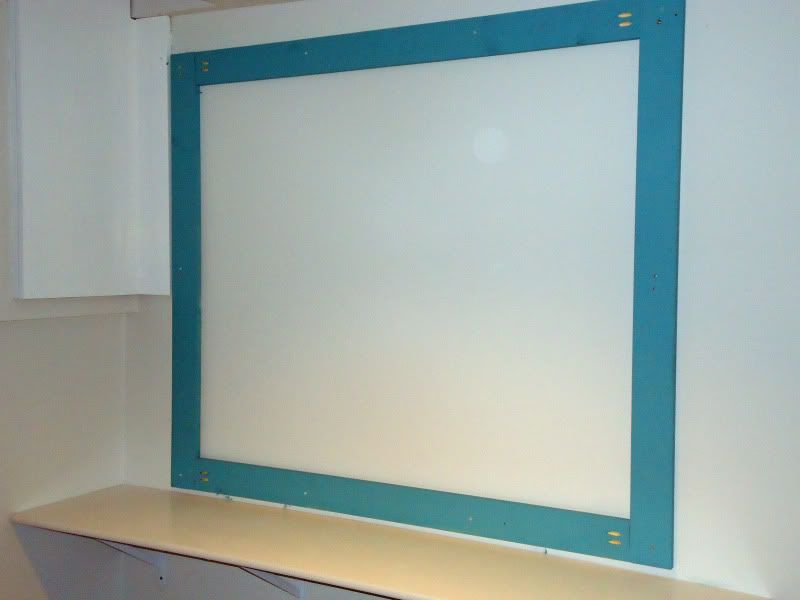


We checked to make sure the boards would make a nice frame for the pegboard
The frame was created using a Kreg Jig.
To hold the pegboard in place white plastic screw buttons.

My dad testing the screw buttons to make sure they were in the correct place.  We used 12 of these screws.
The pegboard is now ready to be mounted on the wall.  For decorative framed look we added a pine corner guard molding painted in Super White.  The frame was only added attached to the peg board so we could remove the pegboard as needed.

The bars and baskets are from Ikea.

Now, you have the start to an awesome art studio!  Check back for the rest of the tutorial.

Wednesday, December 26, 2012

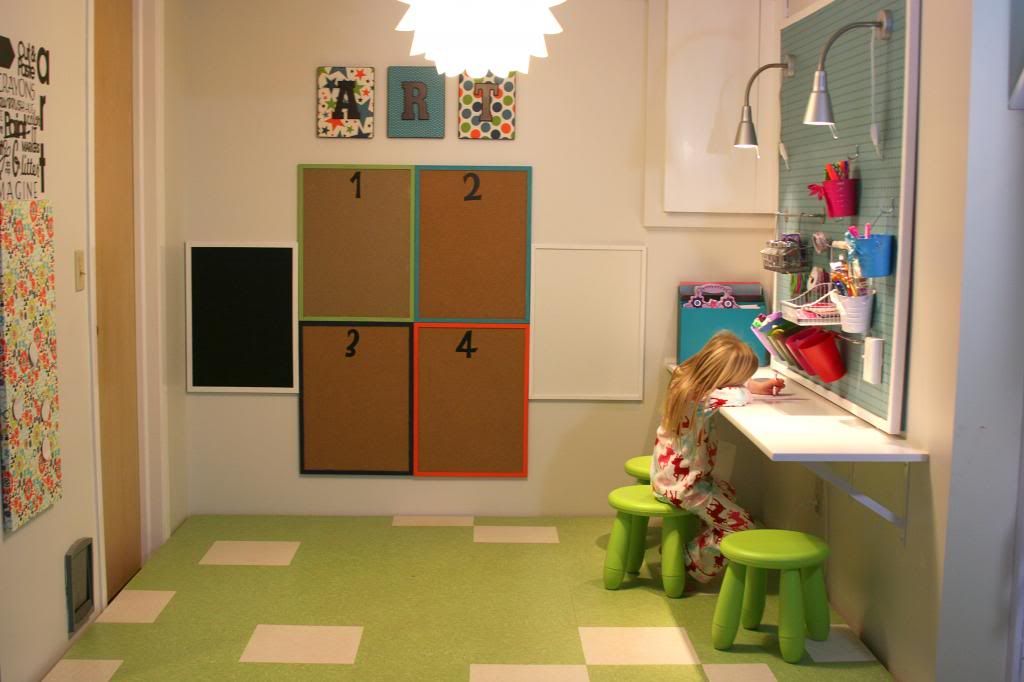
The Reveal - Kid's Art Center

My husband has always told me not to set the bar too high or I will never be able to match it again, but since I am not great at taking advice I set the bar high.  For a little over 2 months, with my dad's help, we designed  and built an art station and a playhouse and now I need a vacation.  I take solace that I have until September to start another huge project and maintain my status as awesome mommy with the kiddos.

I posted a sneak peak of the center in early December and here is the finished product.  The inspiration came from here, here, and here all thanks to Pinterest (can you believe I actually did something I pinned?).  

Ladybug doing her first art project on Christmas morning.  

When I retrieve my point and shoot camera from my parent's house, I will blog the entire process.

Friday, July 29, 2011

A Case of the Lazy

Slowly I have been making each room a bit more Ladybug, Mister, and Wee One friendly.  They have always had access to any cabinet or drawer except the cleaning supplies and medicine, but they haven’t had any bins to call their own.  This creates messes beyond you want to see, but when they pull the books out of the built-ins and play library or laugh hysterically at the Nutty Professor DVD cover, how can I get mad?

Every night I sit down and look at these two bins and tell myself I should really clean those out.  I try to convince myself by saying it will only take 10 minutes, but I am tired by the time 8 o’clock comes around.   I look at the bins and tell myself tomorrow.  Well, tomorrow finally came.  Our library books have a home and there are writing supplies ready to go.  I used the lowest shelf and Mister and Ladybug have no problem getting out the bins.  Now if I can only find some seating and get a small basket for the Wee One we will be set.  I will get on that tomorrow or when the Wee One starts sleeping through the night. 


Also the dirty dish into the sink problem has been solved and for $1 and some change. 

Monday, July 25, 2011

One Of These Things Is Not Like The Other

One of these things is not like the other.  Can you find the one that is different?

We have our first and second broken cup.  I could not believe that it already happened because we have had them less than a week.  What I couldn't believe more is that I broke both of them.  Apparently I need a less on being careful.  I brought home the new cup and not 5 minutes later, I broke another one.  Good thing they are $.49 at Goodwill.

These are our new place mats made from cardstock and had them laminated.  I think they turned out pretty cute and they wipe down. 


Thursday, July 21, 2011

How Do You Solve A Problem

Mister and Ladybug have access to nearly everything in the kitchen thanks to our Learning Tower. And thanks to the Mister who generously handed over some money from selling his scooter to pay for this little gem.  Anyway, we use this everyday and it really  makes them feel like part of the cooking process.  It is also their job to set the table for dinner throw the placemats, napkins, and forks on the table for dinner.  So, here is our first problem: they don't know how to set the table even after showing them numerous times. 

Our second problem is table manners or lack of table manners.  While visiting some friends this past weekend it became clear that I am raising floppy cows.  Her child was so well mannered at the table that I vowed to make a change.

How do you solve a problem like little ragamuffins without being a nag?  You get them involved on their level, you make it fun, and you make it relevant and that is how I finally got around to preparing the kitchen.

I cleaned out a cabinet and made it all their own.  On the top shelf are snacks and on the bottom are the things they need to set their table.  The utensils are in a a popsicle mold, the pitcher is from Ikea, and the plates and glasses are from the Goodwill.  All the items are placed on nonslip mats.  You will notice that everything is breakable because I want Mister and Ladybug to take care in handling their things.  I want them to know the consequence of being flippant.  What I did not do is set up the space according to Montessori from the Start, but I am sure I will be forgiven.


 In a closed cabinet, they have their cleaning supplies.  In the bottle is vinegar and water for spraying their table.

 In the bottom shelf of the fridge, they also have food that they can choose. 


These are Mister and Ladybug's placemats to help them remember how to set the table.  My good scissors are missing (I put them in a really safe place), so I used a permanent marker to trace the utensil patterns I found on Google.  I will probably making new wipeable placemats until they get a little better at not spilling.


And here are my children eating at their new table.  Ideally their feet would be touching the floor, but the funds are zero for a new table and I can't bare to cut the legs off my childhood table.  I am already regretting I painted it green.


After they finished eating, I realized I need a system for dirty dishes.  It is an always evolving process.

P.S. Grrr I can't bear it.  *Sigh* Homonyms.

Tuesday, March 29, 2011

Our Prepared Environment

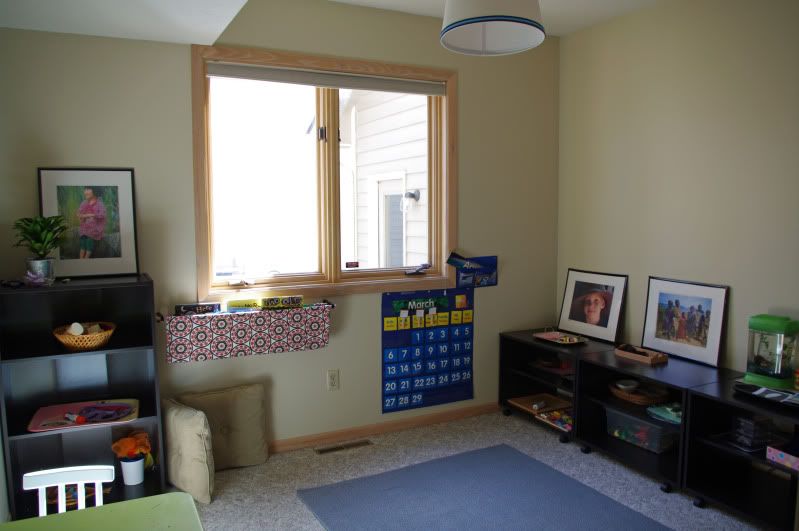
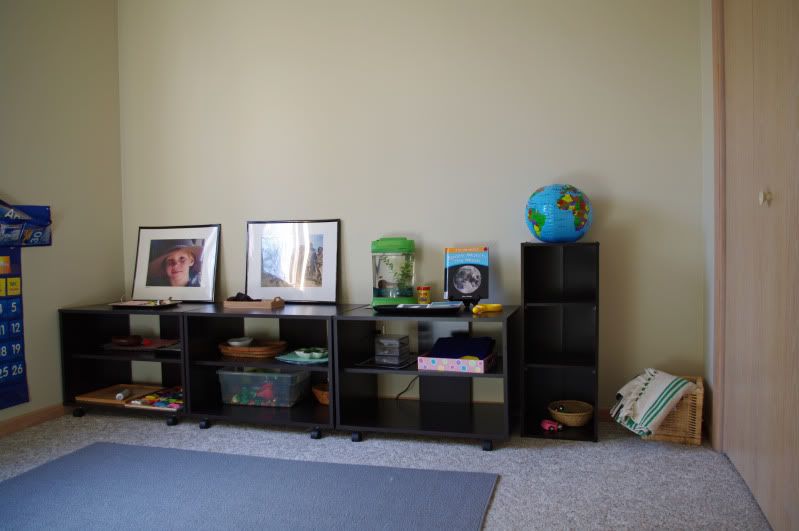
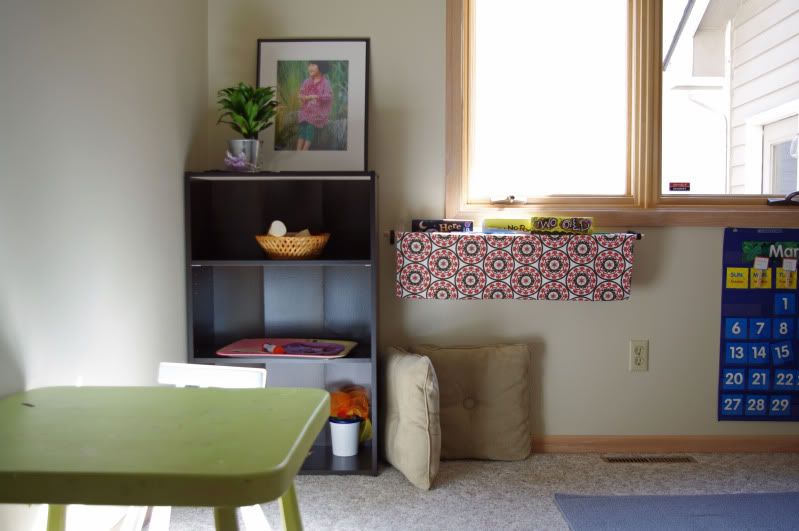
I have been busy setting up our new prepared environment.  This is our favorite room in the house because it gets such great light and faces our little vegetable garden.  This room was our storage room and then my office. When Ladybug and Mister turned one, we made it into a playroom.  It was fun and perfect.  Unfortunately, as they grew the space became cramped. 

Playroom

After looking into Montessori preschools, which were more of a daycare than a preschool and not wanting to drive 1 hour to get to preschool, we decided to do a little mommy school.  As I have been reading and researching Montessori on my own, I decided we must have a dedicated room for our learning. 

I have tried to make a beautiful and organized space.  Ideally we would have more room, but I am thankful we have a spare room for their learning.  I am awaiting a few items, need to find a larger table, and dress the window, but it is essentially finished.  Let me know if I missed anything.