Showing posts with label Crafts. Show all posts

Friday, May 9, 2014

Artist Study - Pablo Picasso

What art study would be complete without a week of Pablo Picasso?  This was an easy and quick introduction to colors, moods, and The Blue Period.

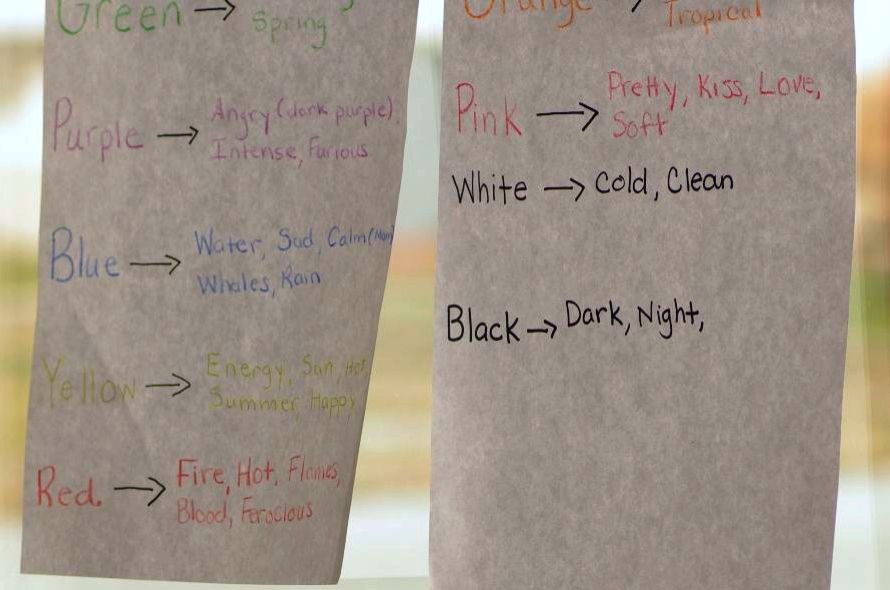
We discussed how colors make us feel.  Blue can make us feel sad or calm while yellow feels like summer.  We made a chart of colors and what they remind us of and the feelings they evoke.  I followed up with a few Pablo Picasso videos on YouTube. Thank you Interwebz for these awesome resources.


To end our day, each child chose a color and made a picture using just that color.  I would have liked if they chose colors for their moods, but true to kid form they picked their favorite colors.

Ladybug made some angry birds (purple makes her feel angry and wild) with a James Rizzi sun. 

Mister chose green and made things that grow.

The Wee One chose blue and her picture ended up with a water theme. 


 One of my favorite parts about these kind of things is when the kiddos take it to real life.  Halle was without her siblings for a few hours and she spent the entire time using the driveway as her canvas.  Each section of the driveway had a color period.  She was so excited and said, "Here is my green period. Here is my red period....and my pink period." 

Thursday, May 1, 2014

Arts and Crafts - Treasure Basket

We are an artsy crapsy kinda family.  I have a Honey Do List that keeps growing, a little gal who saves every scrap just in case she needs to craft, and another gal who asks every day what kind of art project we are going to do.  The boy, well, he's a little more like the only other male in this house, but he puts up a good face just as long as we play football or dinosaurs or space travel every so often.

This month June's basket if full of things we use to craft:

  • Fabric - Varying textures and colors
  • Ribbon - Varying lengths, textures, and colors
  • Pony beads in a bottle
  • Jewelry beads in a bottle
  • Broken crayons in a bottle
  • Styrofoam balls - We will see how long these last with a oral baby
  • Watercolors
  • Washi Tape
  • Glitter glue
  • Crepe paper
  • Popsicle stick


Friday, February 14, 2014

You Drive Me Wild, Valentine!

Just tuck this in your back pocket for next year.

Amazon Prime add on stickers + Avery design and print online = You drive me wild, Valentine. 

Factor in that I didn't have to take four to the store in tundra weather and you have a winner, folks. 

Thursday, February 13, 2014

Art Tackle Box - A Review

This year my husband and I decided to have a small Christmas with more focus on family and less focus on stuff.  That stuff seemed to pile up in the corner, spill out of the basement playroom (an entire basement dedicated to toys), and eventually spend more time in Toy Time-Out than being enjoyed. 

The kids were asked what they wanted and Ladybug, who loves artys crappsy kinds of activities, asked for a blue art tackle box or better known as the Lakeshore Arts & Crafts Supply Center.  Over the next few weeks I kept asking nagging because I wanted her to be really sure and she kept saying the same thing.  Really though this thing looked like my worst nightmare. 


Lakeshore Arts & Crafts Supply Center
Now, I was skeptical because:

A.  It had a lot of awesome supplies and those supplies would end up everywhere.  Remember that stuff that was in Toy Time-Out?  I was mentally adding the blue tackle box to the list. 

B.  I had a coupon for half-off. Was it too good to be true?

C.  I could only find reviews where the product had been supplied by Lakeshore and reviewed.  Now, I know that these reviews are suppose to be unbiased, but I wanted a review not associated with a coupon or Lakeshore.

I gave Santa the green light and now we are the proud owners of a blue art tackle box. 

 
We've had the blue tackle box for almost two months and it is used every single day.  My concern was the awesome supplies would be everywhere, but it seems the novelty of the small clear boxes helps keep her supplies organized. There is enough variety in supplies that it keeps all of them interested and creative. 


I would recommend to blue tackle box to any budding Martha Stewart.


Tuesday, February 12, 2013

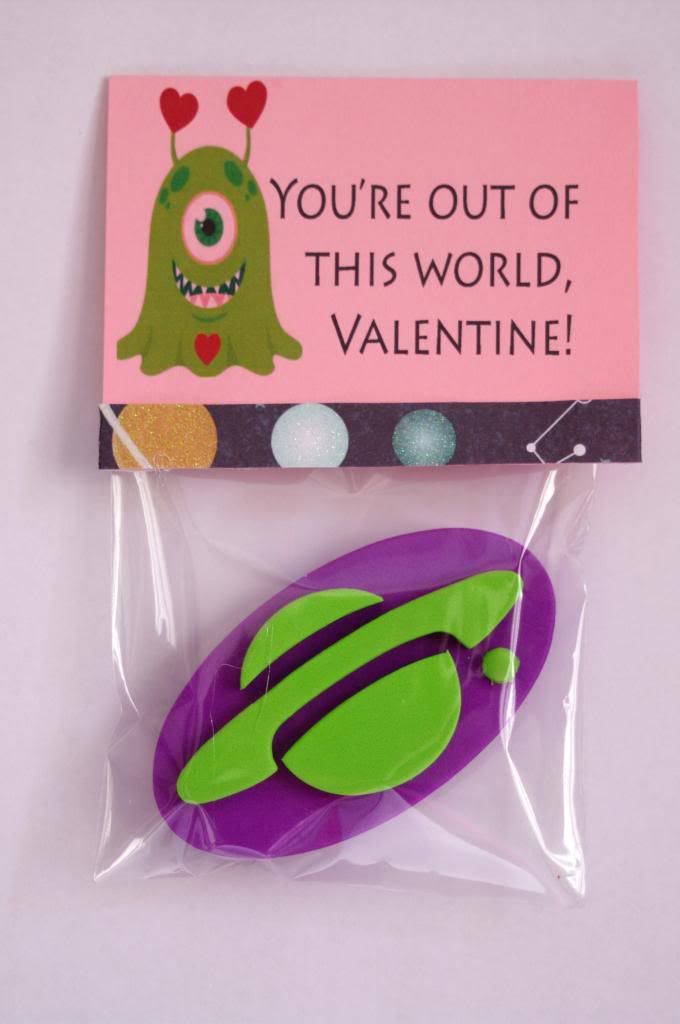
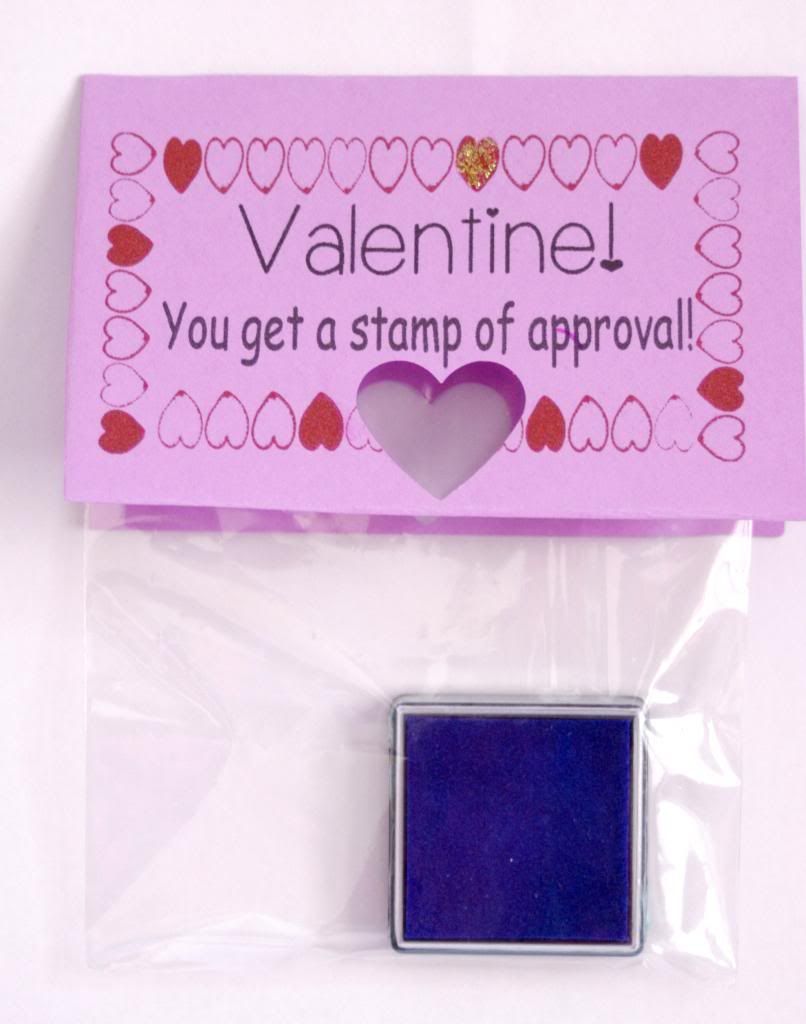
You're Out of This World - Valentine Cards

Mister and Ladybug's teacher requested that the valentine day cards did not include food this year.  Last year we did Love Bugs and Pocket Full of Kisses and since they have many of the same kids in their class we I decided we needed a new idea.

Mister is really into space and I found space stamps at oriental trading.


Ladybug is really into princess, but I didn't think the boys in her class would love to get a wand, although I  might be surprised, so I went off Mister's stamps.


And for their teachers.  Thanks to Pinterest, I was able to combine two ideas.  I will swap the kisses for valentine colored kisses.  I know this goes against the no food thing, but it's not for the kids.  Right?


Happy Valentine's Day!

Friday, January 25, 2013

Making A Piggy

What I am going to say you may not believe, but I promise the next activity is not a huge mess to clean.  I mean it's no bigger of a mess than most things we do and to tell you the truth I asked myself what I was thinking doing this with two 4-year-olds and a 2-year-old.  

Papier-Mache!  (DUN DUN DUN)

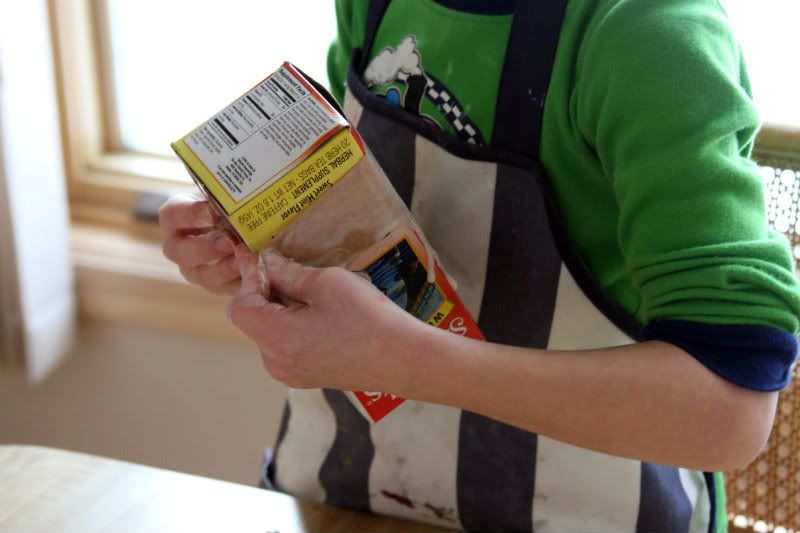
If you didn't immediately click out of this page then check out these cute piggy banks made from tea boxes.

Ingredients - Just in case you haven't papier-mached since elementary school

  • Equal parts flour and water
  • Torn paper - We used paper bags
  • Box or balloon to papier-mache
  • Big bowl

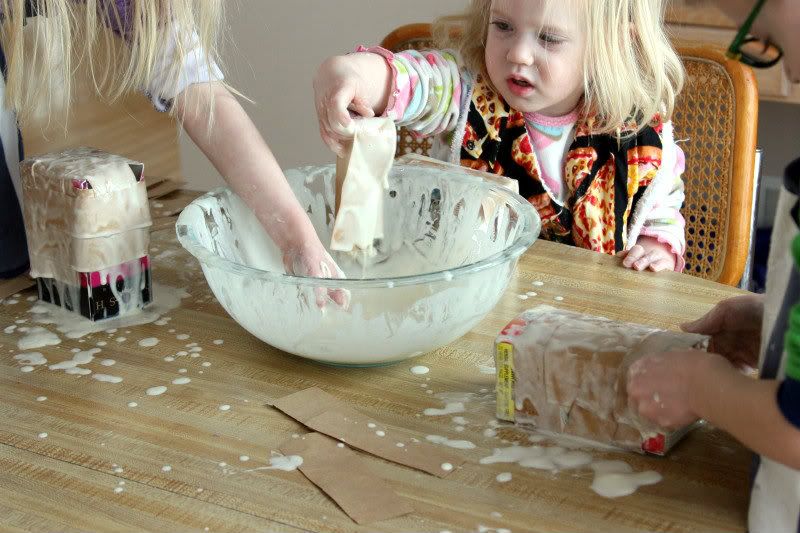
After we mixed our flour and water until we had a paste mixture, I showed Mister, Ladybug, and the Wee One how to put the strips in the mixture, remove the excess, and place on their box.  The Wee One was hesitant because she didn't exactly love the feeling of the flour and water, but she came around when she saw her siblings have a blast.


Was this a bad choice for pictures?  Again, don't be afraid of the mess because it wipes up easily.  I also stuck them in the shower for easy kid clean up.
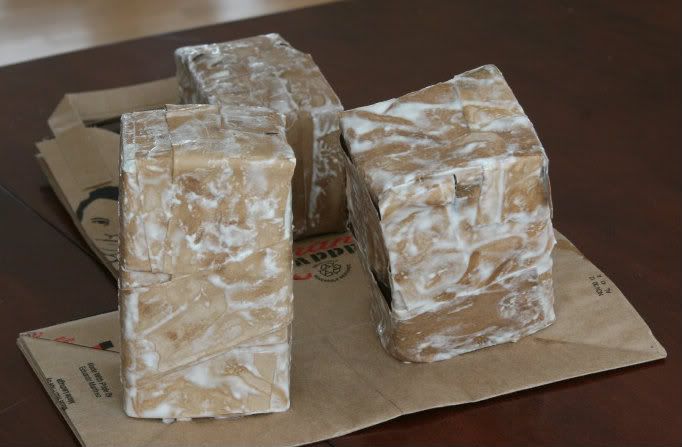
These took at least 4 days to fully dry and harden, but they were amazed at how hard the boxes were.
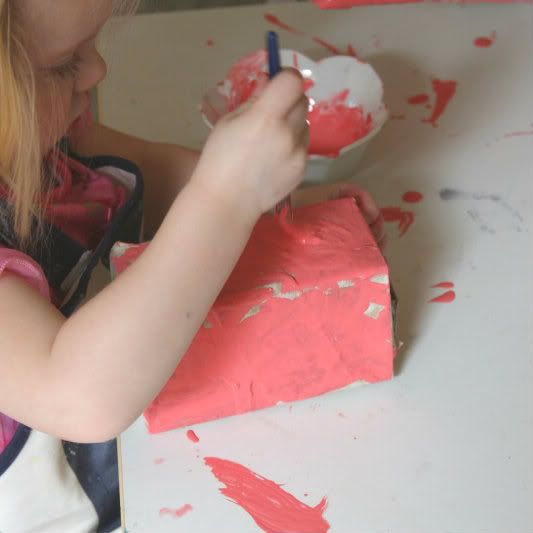
After the boxes have fully dried I cut a slit in the top for coins and a flap on the bottom to remove the coins.  They painted them and let them dry for another day.


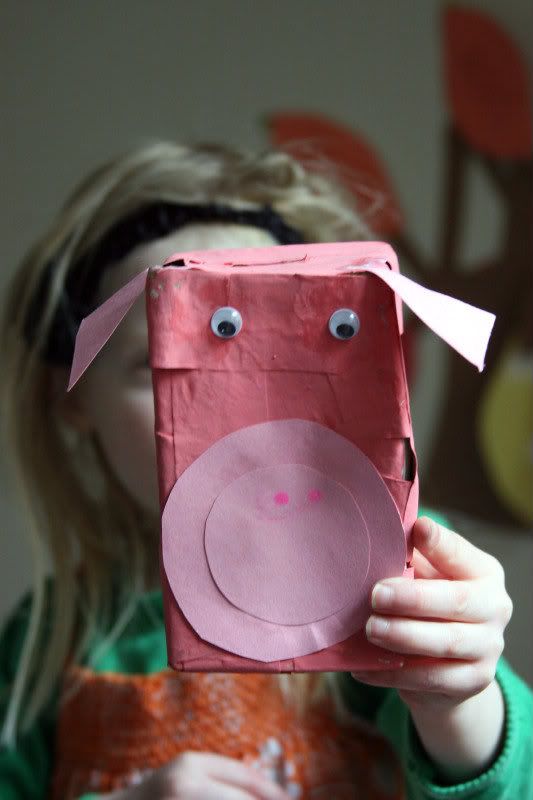
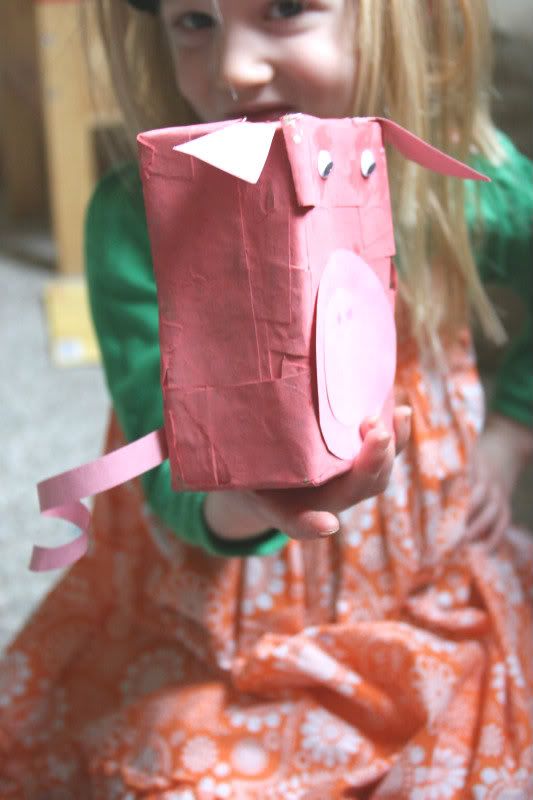
We added a nose, eyes, ears, and a tail for a finished papier-mache piggy bank.


And in case you were wondering about the girl's fashion we had chose your own clothing adventure.  She was very creative.

Enjoy!

Thursday, January 3, 2013

Built-In Art Studio - Part 1

The Space

Our basement playroom has two little square spaces that seemed to always collect junk.  I tried to make one area a dramatic play center, but it took too much work to change it as much as I would have liked.  The other space, now the art center, was an unfinished dancing stage.  At one point Ladybug asked or a dancing stage and as soon as we finished making the stage she lost interest.  It sat untouched for over a year until Ladybug asked for an art studio.

Supplies
  • 1x2 pine boards
  • Pegboard
  • Laminate shelving
  • Brackets
  • Screws 
  • Power Tools 
  • Paint
The How-To

I started of by painting the entire space Benjamin Moore White Wisp and the trim Benjamin Moore Super White.  I wanted the art work to be the focus and the walls a backdrop and I am having a love affair with gray.

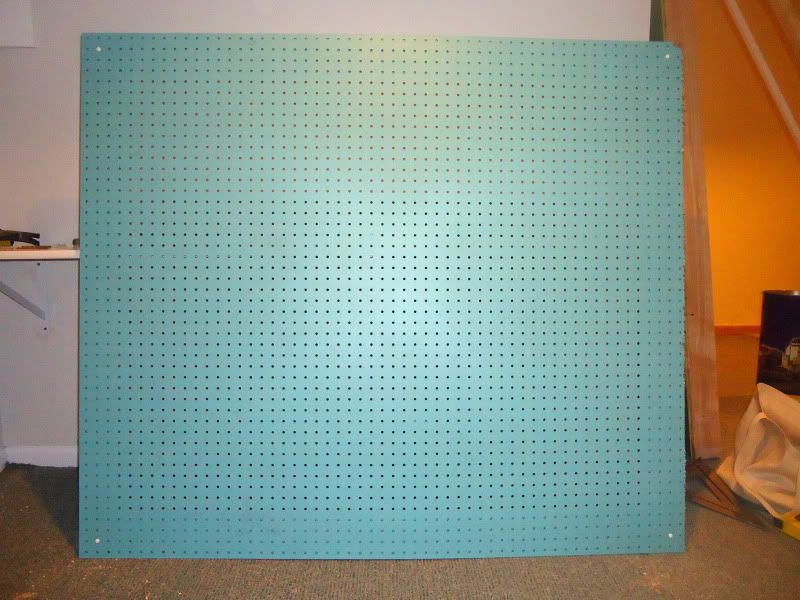
The wall where we wanted the pegboard was measured and cut at the store.  I painted it Benjamin Moore Bahaman Sea Blue.  The color was chosen by Ladybug off the fabric from the art signs.

Next we decided on a height for the laminent shelving table and installed the brackets adding 4" for the stage height.  The brackets were held in place by toggle bolts.  You can read about which kind is right for your project at This Old House.  The laminent shelf was installed on top of the brackets by screwing screws on the underside of the brackets.

The brackets are 12" so if they decide to stand on them (I woudn't put it past Mister) the table won't fall.  
After the shelf was in place we decided how big of space there should be between the shelf and the pegboard.  One of the biggest challenges was making sure the table space wasn't covered by peg board and making sure the kiddos could read the pegboard.  This space was created for preschoolers, so everything has to be low.

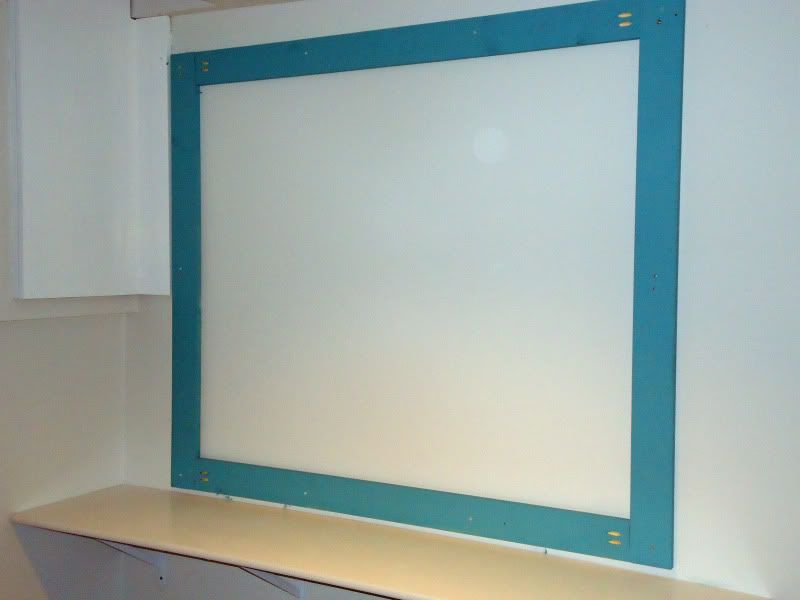
A frame was made for the pegboard, so the pegboard could be removed, there wouldn't be a lot of holes in the wall from the permanate fixtures, and hooks could be rearranged and heightened as they grow.
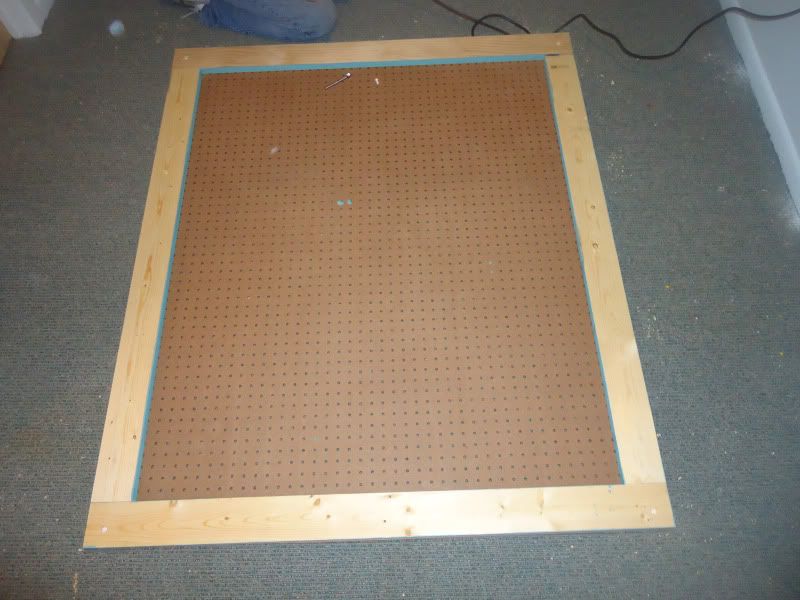


We checked to make sure the boards would make a nice frame for the pegboard
The frame was created using a Kreg Jig.
To hold the pegboard in place white plastic screw buttons.

My dad testing the screw buttons to make sure they were in the correct place.  We used 12 of these screws.
The pegboard is now ready to be mounted on the wall.  For decorative framed look we added a pine corner guard molding painted in Super White.  The frame was only added attached to the peg board so we could remove the pegboard as needed.

The bars and baskets are from Ikea.

Now, you have the start to an awesome art studio!  Check back for the rest of the tutorial.

Tuesday, January 1, 2013

It's A New Year's Thing

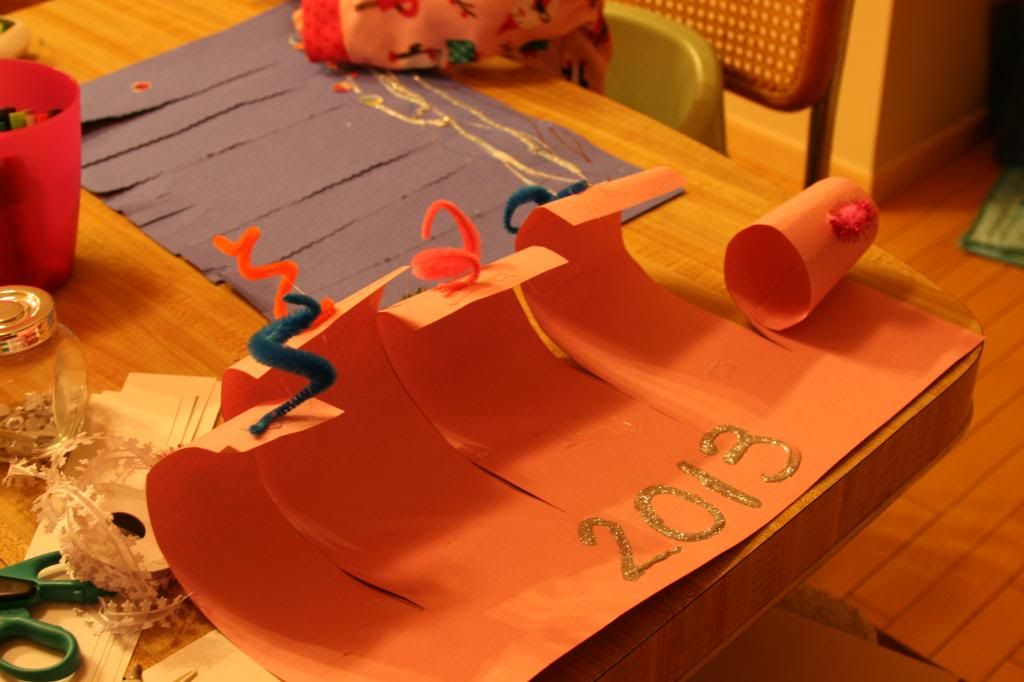
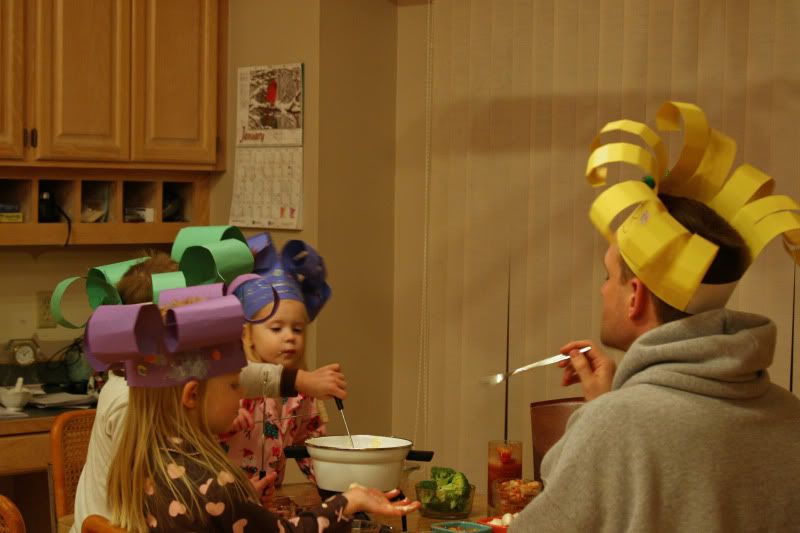
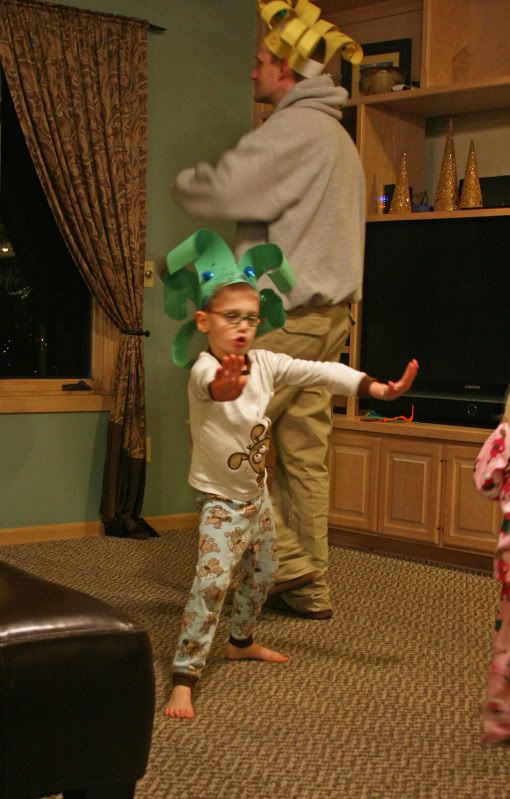
Among my other "things" I have a thing for starting traditions and New Year's Eve is the perfect time of year to create those family traditions.  Because we live the crazy life we have fondue and a dance party every year.  This fondue recipe is sure to be a hit with your kids and you.  Throw in some homemade party hats, homemade noisemakers, and party decorations and you can party in style - have kids who get up early style.

The Party Preparations!

The Set-Up

The big box is our glittering box.  
The Progress

I drew lines for Mister and Ladybug to cut so they would know where to stop, but I encouraged them to make additional cuts if they wanted more curls.  

The Results


The Fondue and Kiddie Cocktails! 
We ate the entire pot of fondue plus 12 pieces of sushi and 3 mini desserts!

Fondue Dippers

  • Steak
  • Shrimp
  • Broccoli
  • Bread
  • Sweet Peppers
  • Cucumbers
  • Mushrooms
  • Tomatoes

The product of going to school is raising your hand at the table. 
She drank it all before the fondue started!

The Party

The noisemakers had lentils on the inside with pony beads attached to ribbons for an extra loud factor.  Stringing the pony beads was a good exercise in fine motor, too.

It's not a party without a lot of noise!  
America's Best Dance Crew, er, stop, collaborate and listen.
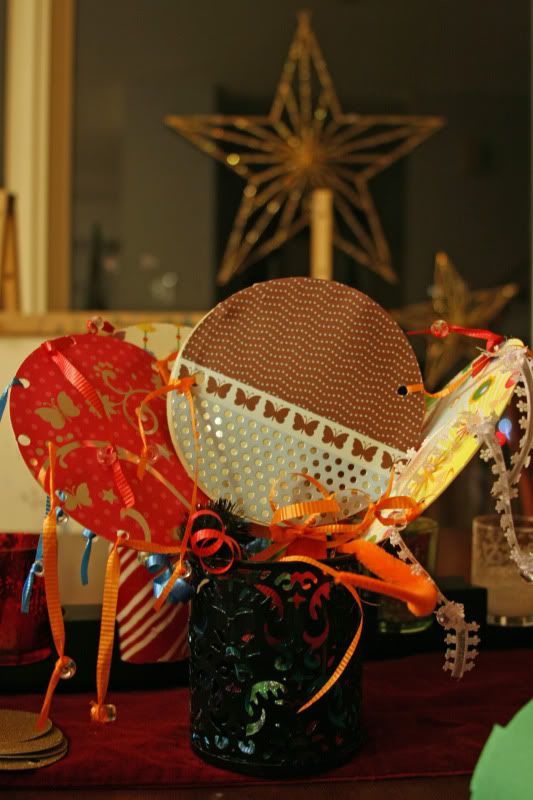
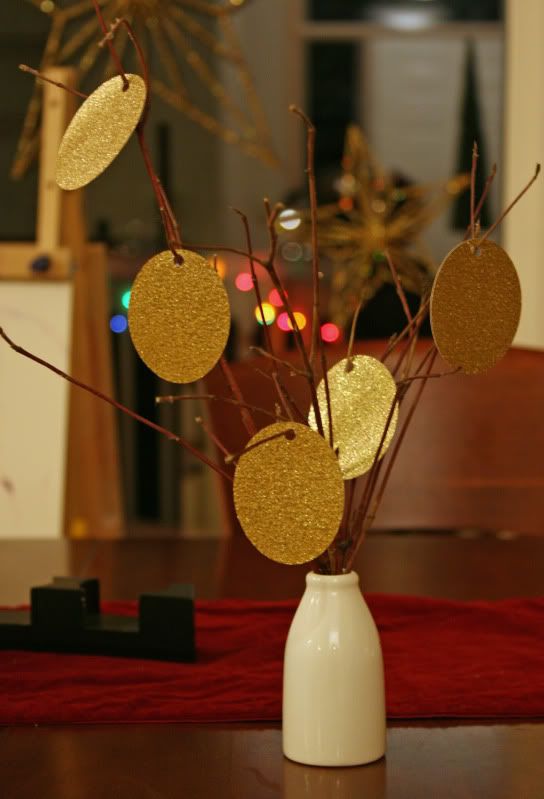
A Wishing Tree
This was one of our newest tradition this year.  I plan to keep it out all year (maybe paint the branches, get a new holder, you know pretty it up) so we can revisit our wishes.

I used my Cricut to cut the ovals.


We also did some goal setting and talked about resolutions, but not until breakfast.  I have a tendency to plan a little too much, but I consider it a bonus from my teaching days.

Tuesday, December 18, 2012

DIY Wreath Ornament

I have a friend who is an amazing baker and decorator of all things sweet.  Her creations leave me thinking I can do the same thing and well I can't.  So, when I drew her name for an ornament exchange I knew what I wanted to do.  She needed a little of me (the wreath) and a little of her (the baking) on her tree.  Behold the cookie cutter wreath ornament!

Supplies from Michaels

  • Unopened floral tape ($1.99 full price)
  • Yarn
  • Small cookie cutters
  • Christmas card stock


You make it the same way as a regular wreath.


Monday, December 10, 2012

I Felt Naked

because my door didn't have any adornment for about a month.  It was nekkid and crying for some attention, so I thought I would make this new thing called a book pages wreath.  New and innovative about 3 years ago, but I am always running a few years behind.  I love this wreath so very much and it cost less than $5 and the mister thought that was the best part.

The back of the wreath is a 9"x9" square with a small circle cut out in the middle.  I added a few pages on the outside and now I can see I need to add a few more.  No craft is complete without herpes, er glitter.


Wednesday, October 31, 2012

Halloween - A Few More

Here are a few more activities on the shelves for Halloween.

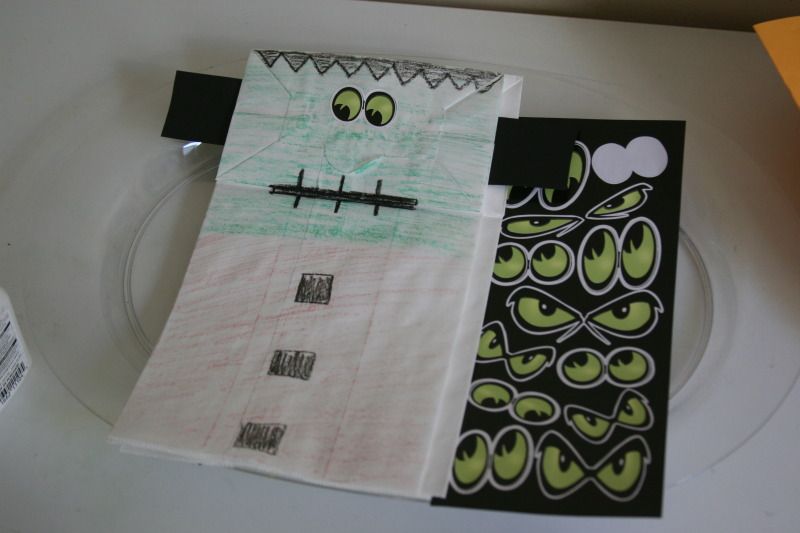
Art

Frankenstein example
Mister's Frankenstein

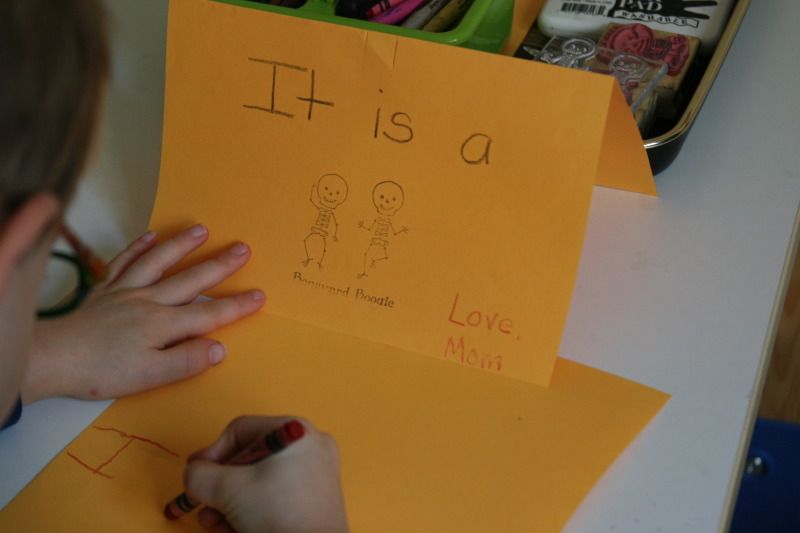
Literacy - Ladybug loves to make cards for people, so I put a Halloween card template on the shelf.  I asked them to practice writing the first part of the sentence "It is a" and stamp Barnyard Boogie.


The stamp is from the #1 spot at Joann.
Practical Life - We have put a lot of effort into our cutting this month after I saw some less than stellar preschool cutting projects.  These shapes range from easy to a little harder.  After they cut the ghosts were glued onto black paper, shredded cotton balls were added and the words "Boo" and "Halloween" were added.  The Wee One glued shredded and glued cotton balls on her ghost.

Ghost cutting

Math - Draw a card and match the number on the hundreds chart.  The pumpkins are erasers I have had for years.


Happy Halloween!

Friday, October 12, 2012

What's On the Shelf - October

I love October because there is so much fun to be had and so much to do!  Here's the first activities on the shelves:

Practical Life

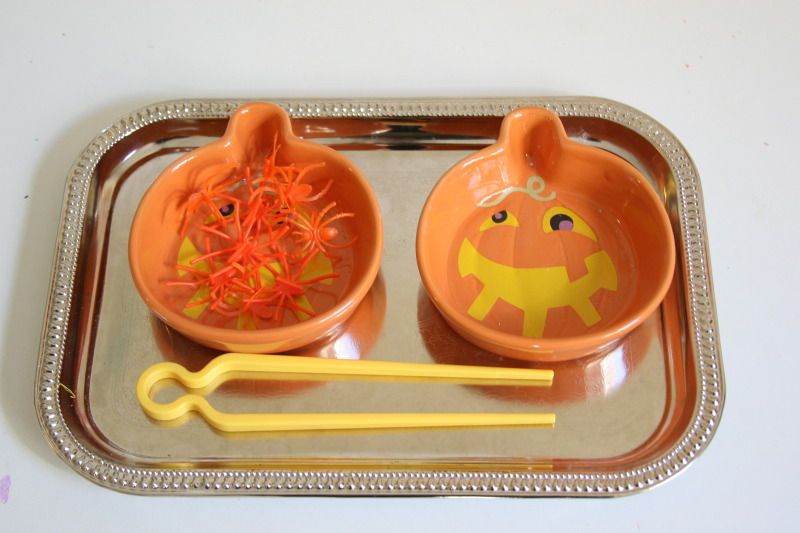
These chopsticks have a tendency to overlap, so just the right pressure has to be applied.

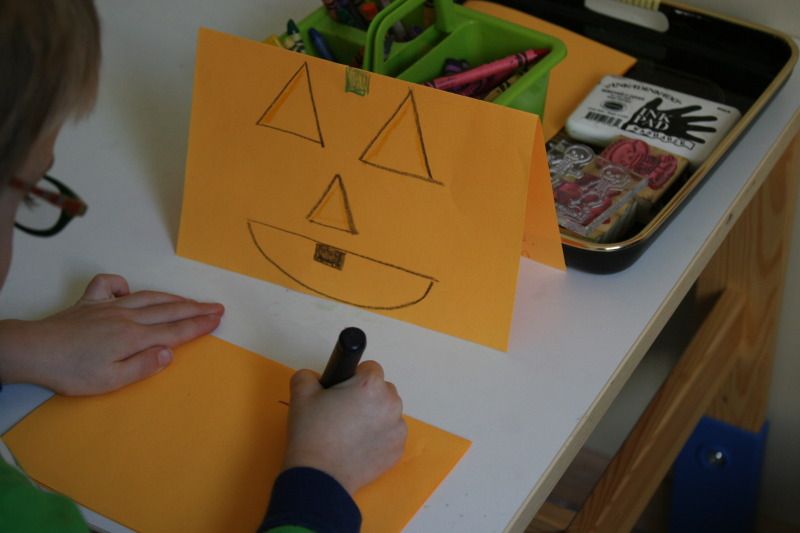
I have cringed at the cutting work  Mister and Ladybug have brought home from preschool, so  for some fun practice they can make a jack-o-lantern and cut it out.


Science/Sensorial

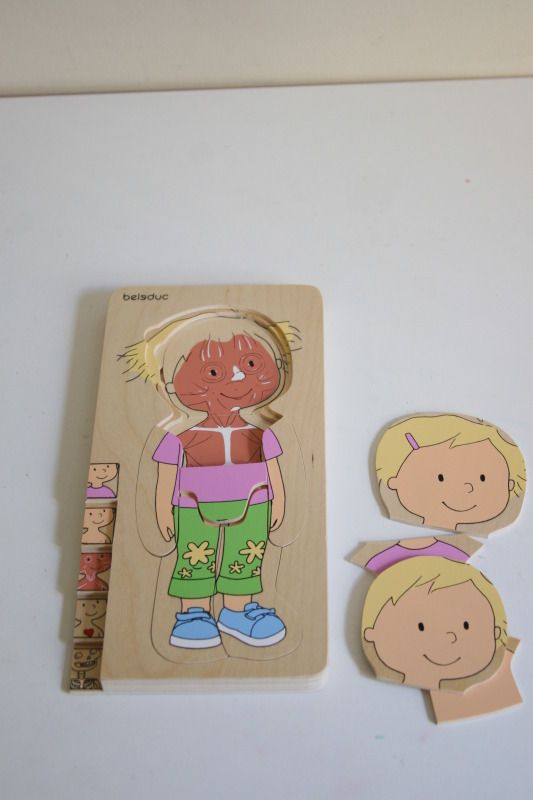
My body wooden puzzle
Human body x-rays

This is a challenge because the pieces are small.

Literacy

Halloween card making
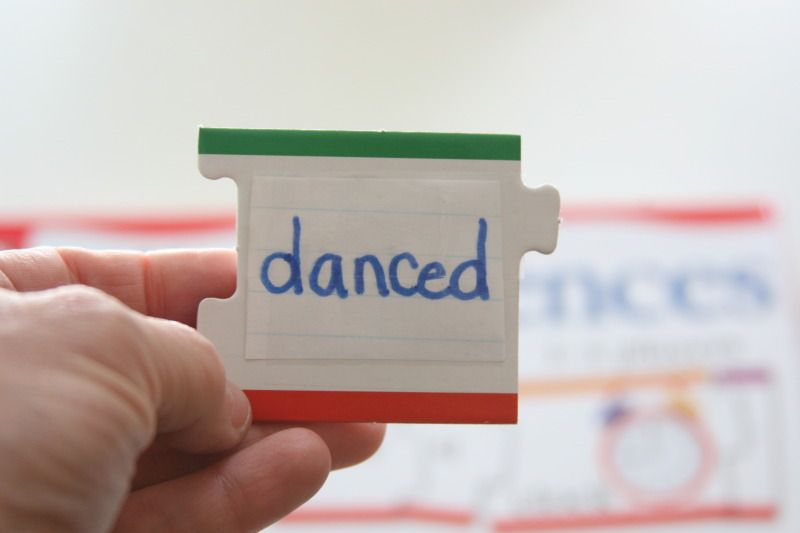
After we played with this, I changed some of the verbs for more variety.  DK should have included blank pieces.

For Fun

JoAnn $1 section
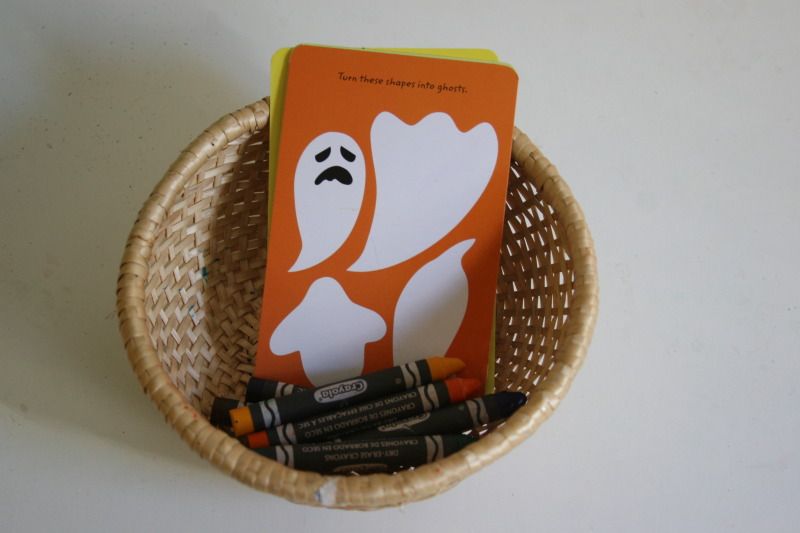
Usborne cards 
Potato Head family