Wednesday, December 26, 2012

The Reveal - Kid's Art Center

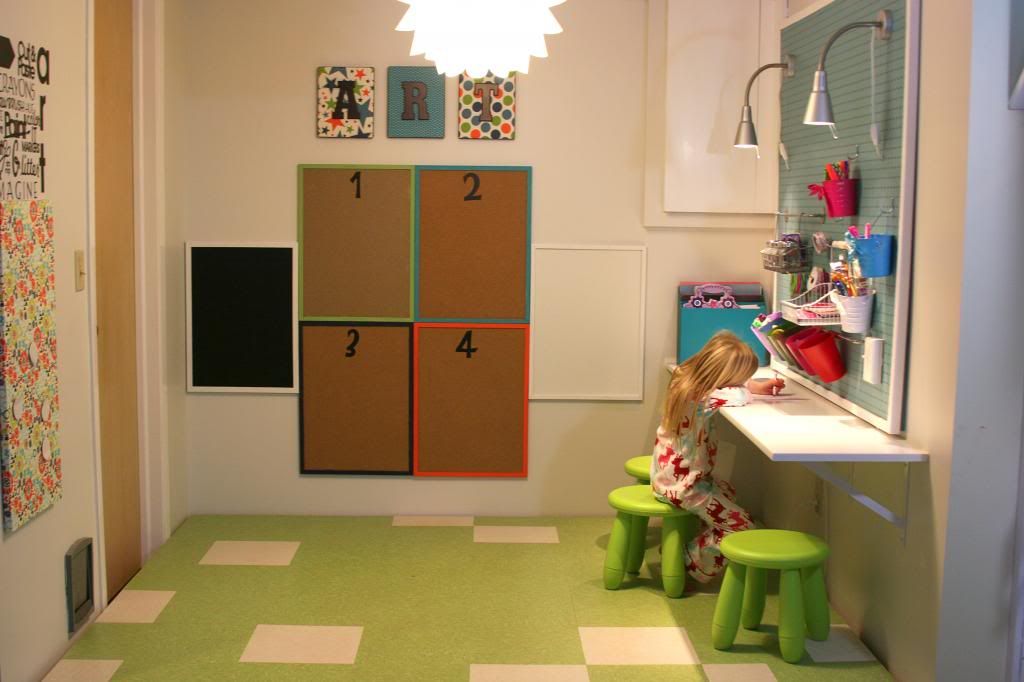
My husband has always told me not to set the bar too high or I will never be able to match it again, but since I am not great at taking advice I set the bar high.  For a little over 2 months, with my dad's help, we designed  and built an art station and a playhouse and now I need a vacation.  I take solace that I have until September to start another huge project and maintain my status as awesome mommy with the kiddos.

I posted a sneak peak of the center in early December and here is the finished product.  The inspiration came from here, here, and here all thanks to Pinterest (can you believe I actually did something I pinned?).  

Ladybug doing her first art project on Christmas morning.  

When I retrieve my point and shoot camera from my parent's house, I will blog the entire process.

Tuesday, December 18, 2012

DIY Wreath Ornament

I have a friend who is an amazing baker and decorator of all things sweet.  Her creations leave me thinking I can do the same thing and well I can't.  So, when I drew her name for an ornament exchange I knew what I wanted to do.  She needed a little of me (the wreath) and a little of her (the baking) on her tree.  Behold the cookie cutter wreath ornament!

Supplies from Michaels

  • Unopened floral tape ($1.99 full price)
  • Yarn
  • Small cookie cutters
  • Christmas card stock


You make it the same way as a regular wreath.


Monday, December 10, 2012

I Felt Naked

because my door didn't have any adornment for about a month.  It was nekkid and crying for some attention, so I thought I would make this new thing called a book pages wreath.  New and innovative about 3 years ago, but I am always running a few years behind.  I love this wreath so very much and it cost less than $5 and the mister thought that was the best part.

The back of the wreath is a 9"x9" square with a small circle cut out in the middle.  I added a few pages on the outside and now I can see I need to add a few more.  No craft is complete without herpes, er glitter.


Thursday, December 6, 2012

It's a Winter Wonderland - December Sensory Bin

One of the thing I love about living in the tundra is the four seasons.  Sadly we are stuck in 3.5 season since the last three years have been disappointing for snow.  My husband isn't complaining, but it's hard to get in the season when it's cold and there is no snow.  I put together a sensory bin of what I think it should look like around here minus the penguins.

What's Inside:
  • Clear pony beads
  • Pom-poms (green, white, and red for Rudolf's nose)
  • Evergreen trees
  • Snowpeople
  • Penguins
  • Christmas balls
  • Horn pick
  • Lights
  • Santa
  • Kids playing in the snow


Monday, December 3, 2012

A Sneak Peak

So...what's new?  

The Two Steps house has been busy for the past month learning new skills and getting ready for Christmas. My dad has been teaching me how to wood work and we made a console table as my first project. If I would have known how empowering power tools were, I would have started long ago.  

Now, I am busy making Christmas gifts for the kiddos.  We are having a no electronics or battery Christmas because it's already loud over here.  As a side not my husband told me two years ago while we were enjoying our morning coffee that it couldn't possible get any louder here.  Should I ask him how he feels now?  Anyway, here is a sneak peak of Ladybug's big gift.  


I

Wednesday, October 31, 2012

Halloween - A Few More

Here are a few more activities on the shelves for Halloween.

Art
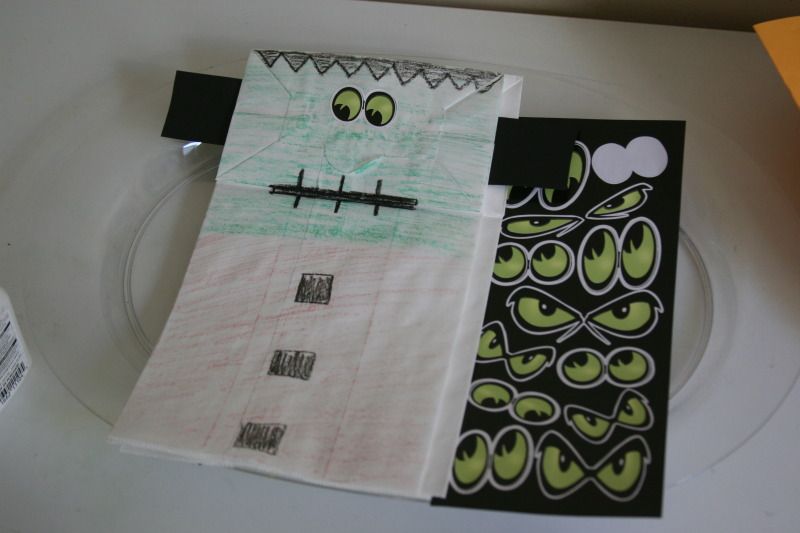
Frankenstein example
Mister's Frankenstein

Literacy - Ladybug loves to make cards for people, so I put a Halloween card template on the shelf.  I asked them to practice writing the first part of the sentence "It is a" and stamp Barnyard Boogie.
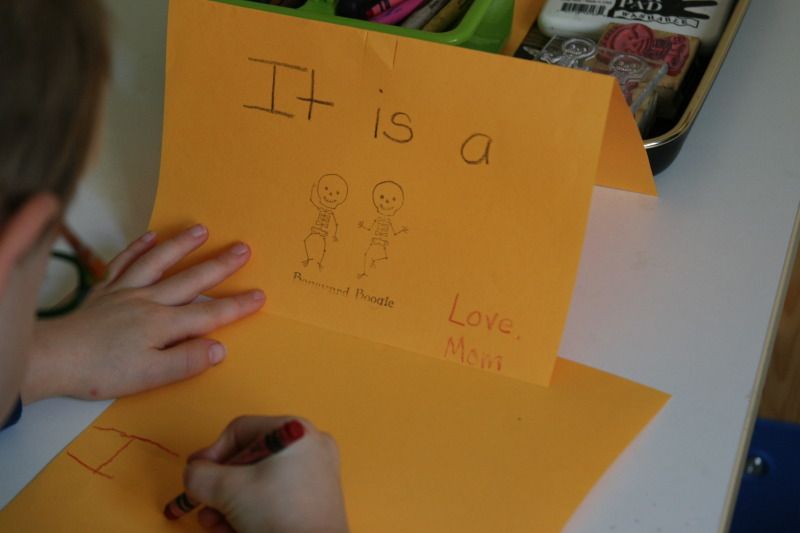

The stamp is from the #1 spot at Joann.
Practical Life - We have put a lot of effort into our cutting this month after I saw some less than stellar preschool cutting projects.  These shapes range from easy to a little harder.  After they cut the ghosts were glued onto black paper, shredded cotton balls were added and the words "Boo" and "Halloween" were added.  The Wee One glued shredded and glued cotton balls on her ghost.
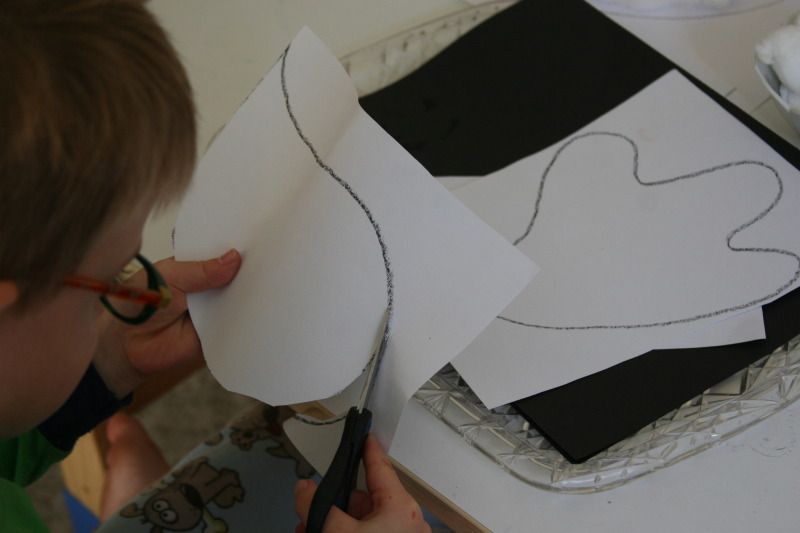
Ghost cutting

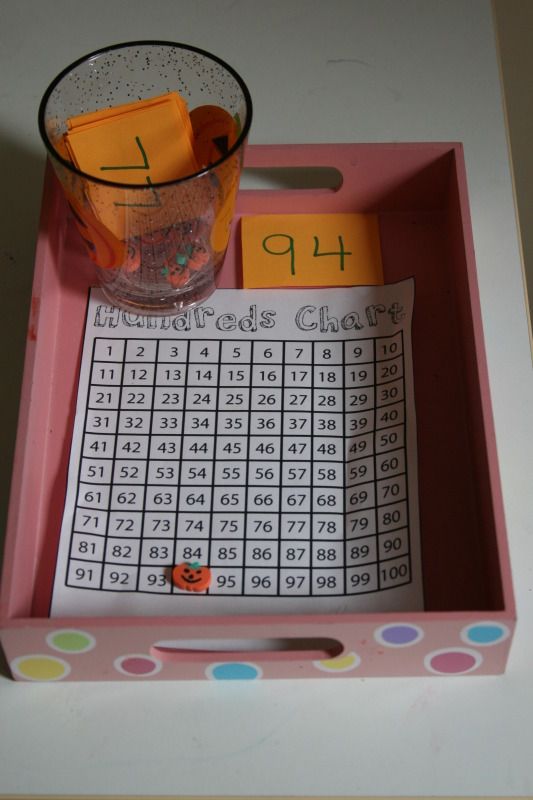
Math - Draw a card and match the number on the hundreds chart.  The pumpkins are erasers I have had for years.


Happy Halloween!

Tuesday, October 30, 2012

T is for Teeth - What's on those teeth?

I have been lagging on posting this month because I have been so busy wood working (a new thing for me) and sewing Halloween costumes.  The kiddos and I have been over at my parent's house almost everyday, so that has left little school time.  We have been able to fit some in and the Wee One and I are on the letter T.  No, I didn't miss on posting the letters between A and T, but we are doing them out of order in one of the different suggested ways.

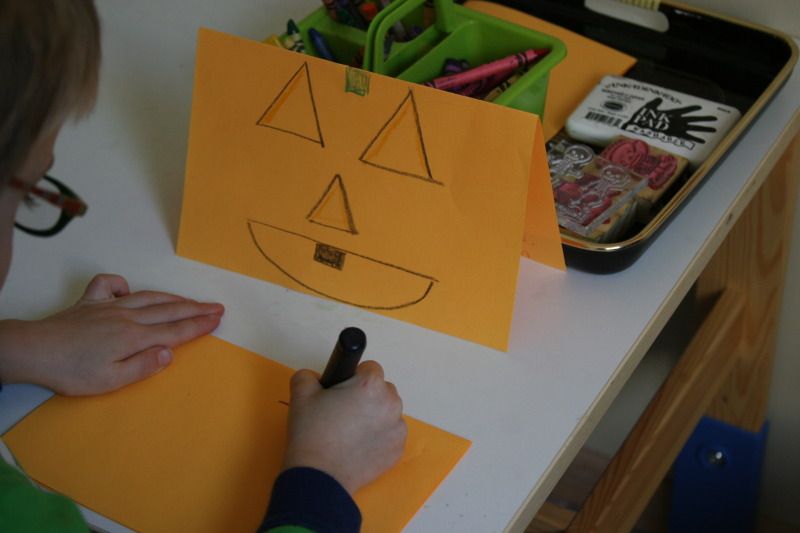
Before we carved our pumpkins, I drew a face including teeth.  On the teeth I put gross black that needed to be brushed.  I included a toothbrush and some water.  The first time the Wee One did it I threw it together to see if she would like it and that's the only picture I have.  I found that yellow paint worked a little better than dry erase marker.  Mister and Ladybug enjoyed brushing the jack-o-lantern's teeth also.


Happy Brushing!